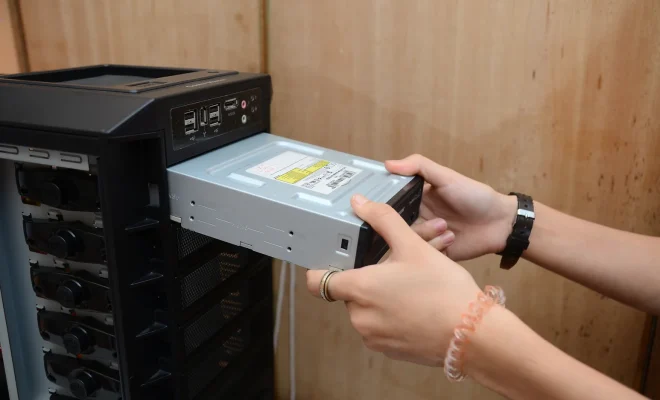
Installing a CD/DVD Drive

Installing a CD/DVD drive is a fairly simple process that anyone can do with a few basic tools and some knowledge. Having a CD/DVD drive in your computer is a great way to watch movies, install programs, and backup important files. In this article, we’ll go through the basic steps of how to install a CD/DVD drive in your computer.
Step 1: Purchase a CD/DVD Drive
The first step is to purchase a CD/DVD drive. You can buy one from any computer store or online retailer. When selecting a drive, make sure it is compatible with your computer. You can find this information either in the user manual for your computer or by searching online.
Step 2: Gather Tools
Before you start installing the drive, make sure you have all the tools you need. You will need a screwdriver, screws, and a data cable. The data cable is usually included with the CD/DVD drive, but if it’s not, you can purchase one separately.
Step 3: Turn off the Computer
Before you start, shut down your computer and unplug it from the power source.
Step 4: Open the Computer Case
Next, you will need to open the computer case. Most cases have a latch or screws holding the side panel in place. If your computer has screws, remove them and slide the panel off. If your computer has a latch, press down on it and slide the panel off.
Step 5: Locate the Drive Bay
Once you have the case open, locate the drive bay where you want to install the CD/DVD drive. The drive bay is usually located toward the front of the case and has a metal frame around it.
Step 6: Install the Drive
Insert the CD/DVD drive into the drive bay and use the screws provided to attach it to the frame. Make sure the drive is securely attached so it doesn’t move around.
Step 7: Connect the Data Cable
Attach the data cable to the back of the CD/DVD drive, making sure the pins line up correctly. Then, connect the other end of the data cable to the motherboard. You may need to consult your motherboard manual to determine which connector to use.
Step 8: Secure the Data Cable
Secure the data cable to the case with the provided clip or tie. This will help prevent the cable from getting caught on any other components.
Step 9: Close the Case
Finally, close the computer case and plug your computer back in. Turn on your computer and check to make sure the CD/DVD drive is recognized by your operating system. You can do this by going to your computer’s control panel and looking for the drive listed under the hardware section.
In conclusion, installing a CD/DVD drive in your computer is a relatively easy process. Simply follow these steps and you will be able to watch movies, install programs, and backup important files in no time. Happy computing!


