How to Use your iPhone as a Mouse on a Mac

If you’re one of those people who frequently switch between your iPhone and Mac, you might be wondering if there’s a way to use your iPhone as a mouse on your Mac. The answer is yes, there is a way to do it, and it’s a lot easier than you might think. In this article, we’ll show you how to use your iPhone as a mouse on a Mac.
Steps to use an iPhone as a mouse on a Mac:
Step 1: Download and install the “Remote Mouse” app on your iPhone. It’s available for free in the App Store.
Step 2: Download and install the “Remote Mouse Server” on your Mac. It’s also available for free on the Remote Mouse website.
Step 3: Connect your iPhone and Mac to the same Wi-Fi network.
Step 4: Open the “Remote Mouse” app on your iPhone and tap on “Start”.
Step 5: Open the “Remote Mouse Server” on your Mac and click on “Start Server”.
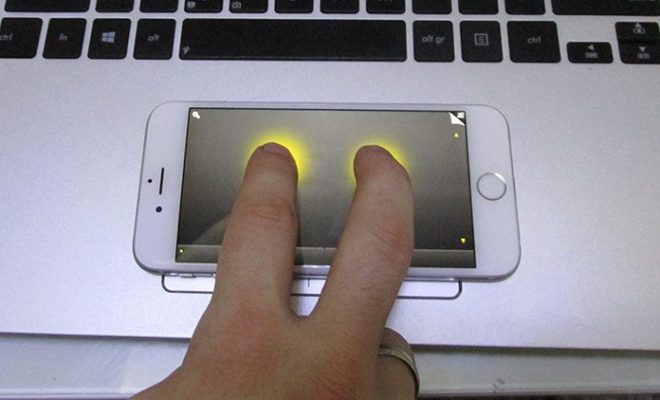
Step 6: Your iPhone should now be connected to your Mac. You can use your iPhone as a touchpad to move the cursor on your Mac. You can also use it as a keyboard, volume controller, and media player controller.
Step 7: To use your iPhone as a mouse, tap on the “Mouse” tab in the Remote Mouse app. You can now move your iPhone to move the cursor on your Mac. Tap on the screen to click, use two fingers to right-click, and use three fingers to scroll.
Step 8: You can customize the sensitivity of the mouse movement in the Remote Mouse app settings.
Step 9: When you’re done using your iPhone as a mouse, close the Remote Mouse app on your iPhone, and click on “Stop Server” on your Mac.
Conclusion:
Using your iPhone as a mouse on your Mac is an easy and convenient way to navigate your computer without having to use a physical mouse. The Remote Mouse app is a great tool that lets you use your iPhone as a mouse, keyboard, and media controller. It’s easy to set up and use, and it’s available for free in the App Store. Try it out and see how much easier it is to navigate your Mac without a physical mouse.


