How to Use VLC to Watch Almost Any Video on Apple TV

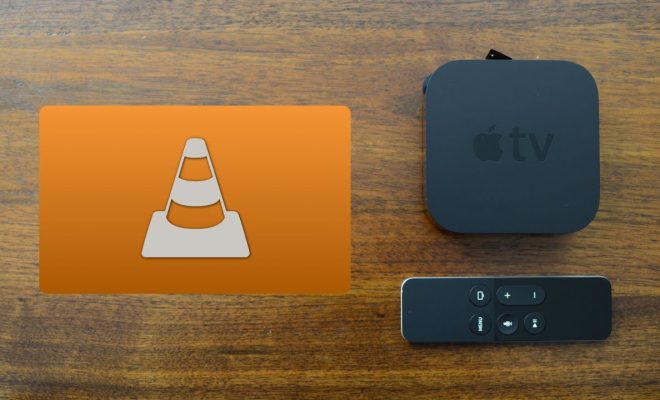
Apple TV is a great way to stream videos, but it has limitations when it comes to the types of files it can play. Fortunately, there’s a solution: VLC, a free and open-source media player that can play almost any video format.
Step 1: Install VLC on your Apple TV
The first step is to install VLC on your Apple TV. You can do this by searching for “VLC” in the App Store on your Apple TV. Once you find it, click “Install” and wait for it to download and install.
Step 2: Enable Sharing on your computer
In order to stream videos from your computer to your Apple TV using VLC, you need to enable sharing on your computer. To do this, go to System Preferences > Sharing and check the box next to “File Sharing”.
Step 3: Add your video files to your computer’s shared folder
Now that sharing is enabled on your computer, you need to add your video files to the shared folder. To do this, simply drag and drop the files into the folder you shared in Step 2.
Step 4: Open VLC on your Apple TV
Open VLC on your Apple TV and navigate to the “Local Network” tab. You should see your computer listed under “Shared” in the sidebar. Click on your computer’s name to access the shared folder.
Step 5: Play your video
Once you’ve accessed the shared folder, you should see all of the video files you added in Step 3. Simply click on the file you want to play, and it should start playing automatically.
That’s it! With VLC and a little bit of setup, you can watch almost any video on your Apple TV.


