How to Use the iPhone Camera
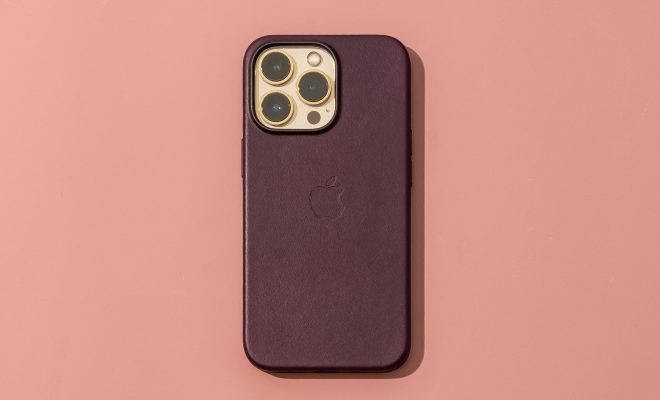
The iPhone camera is one of the best smartphone cameras out there, and it’s packed with features that can help you take great photos and videos. In this article, we’ll go over how to use the iPhone camera and some tips to help you take better pictures.
1. Open the Camera App
To open the camera app on your iPhone, simply tap on the camera icon on your home screen. You can also swipe left from the lock screen to open the camera app quickly.
2. Take a Photo
To take a photo, simply tap on the white circle at the bottom of the screen. You can also use the volume buttons on the side of your phone to take a photo.
3. Use the Camera Grid
The camera grid is a helpful tool that can help you take better photos. To turn it on, go to Settings > Camera > Grid. The grid will help you align your shots and create a more balanced composition.
4. Use HDR Mode
HDR (High Dynamic Range) mode can help you take better photos in challenging lighting situations. To turn on HDR mode, simply tap on the HDR icon at the top of the screen. The iPhone will take multiple photos at different exposures and combine them to create a more balanced photo.
5. Use Portrait Mode
Portrait mode is a feature that allows you to take photos with a blurred background, which can create a more professional-looking photo. To use portrait mode, simply swipe to the left until you see the “Portrait” option.
6. Take Live Photos
Live Photos is a feature that captures a few seconds of video before and after you take a photo. To use Live Photos, simply tap on the Live Photos icon at the top of the screen. You can view Live Photos by pressing and holding on the photo.
7. Edit Your Photos
The iPhone camera app also includes basic photo editing tools, such as cropping, filters, and adjustments. To edit a photo, simply tap on the photo and then tap on the “Edit” button.
By following these tips, you can take better photos with your iPhone camera. Experiment with different settings and features to find the ones that work best for you.


