How to Use an External Drive With a Chromebook

Chromebooks are an affordable and effective option for many users, but their limited storage can be a significant drawback. Fortunately, external drives provide a solution to this problem. Here’s how to use an external drive with a Chromebook.
1. Format the Drive for Chrome OS
Before using an external drive, you’ll need to get it ready for use with Chrome OS. To do this, head to the Files app on your Chromebook and locate the external drive. Right-click the drive, then select “Format device.” This will erase all data on the drive, so make sure you’ve backed up important information beforehand.
2. Connect the Drive to Your Chromebook
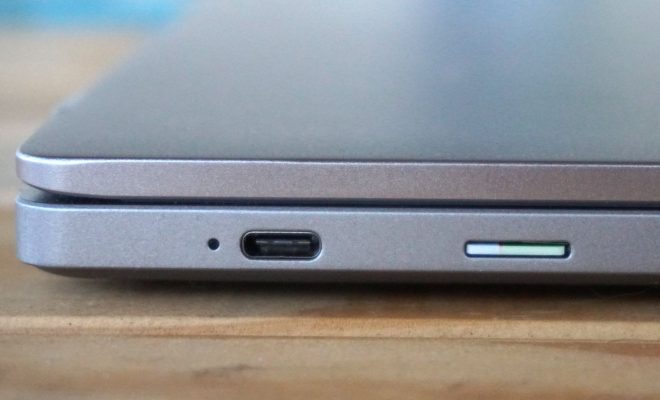
Next, connect your drive to your Chromebook. Most external drives use USB-A connectors, so you’ll likely need a USB-C to USB adapter (unless your Chromebook has USB-A ports). Once connected, the drive should appear in the Files app.
3. Use the Drive for Storage
Now that the drive is connected and formatted, you can begin using it to store files. You can drag and drop files from your Chromebook’s internal storage to the external drive. Additionally, any files saved directly onto the external drive will be stored there. This can help you free up internal storage space and keep things organized.
4. Eject the Drive Safely
Once you’re finished using the external drive, it’s important to eject it safely. Failing to do so can result in data corruption or file loss. To eject the drive, click the up arrow in the status area of the Chromebook desktop and select the external drive. Then click “Eject” to safely remove the drive from your system.
Conclusion
Using an external drive with a Chromebook is a simple process that can help you overcome the limitation of limited internal storage. By formatting and connecting the drive, you can easily use it for storing files and freeing up space on your Chromebook. So, if you need more storage space, give an external drive a try with these easy steps.


