How to Upgrade Install OS X El Capitan on Your Mac

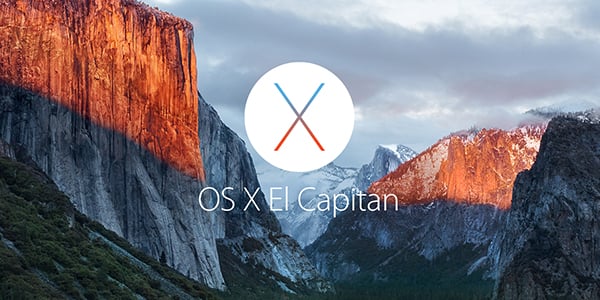
Upgrading your Mac to the latest operating system can bring new features, performance improvements, and security updates. If you want to upgrade your Mac to OS X El Capitan, follow these steps to install the latest version of Apple’s desktop operating system.
Check Compatibility
First, make sure your Mac is compatible with OS X El Capitan. Here are the Mac models that can run OS X El Capitan:
1. iMac (Mid-2007 or newer)
2. MacBook (Late 2008 Aluminum, Early 2009 or newer)
3. MacBook Air (Late 2008 or newer)
4. MacBook Pro (Mid/Late 2007 or newer)
5. Mac mini (Early 2009 or newer)
6. Mac Pro (Early 2008 or newer)
7. Xserve (Early 2009)
Backup Your Data
Before you upgrade your Mac, it’s important to make sure you have a backup of your data. You can use Time Machine, iCloud, or a third-party backup solution to backup your important files and documents.
Download OS X El Capitan
Next, download OS X El Capitan from the Mac App Store. You can find the OS X El Capitan page by searching for it in the App Store or by clicking this link: OS X El Capitan.
Install OS X El Capitan
Once you have downloaded OS X El Capitan, the installation process is straightforward. Follow these steps to install OS X El Capitan on your Mac:
1. Double-click the OS X El Capitan installer in your Applications folder.
2. Click Continue to start the installation process.
3. Read and accept the licensing agreement.
4. Select the disk where you want to install OS X El Capitan.
5. Click Install to start the installation process.
6. Wait for the installation process to complete.
7. Restart your Mac.
Final Thoughts
Upgrading your Mac to OS X El Capitan can provide new features and improvements to your computer. By following these steps, you can easily upgrade your Mac to the latest version of Apple’s desktop operating system. Remember to backup your data before you start the installation process to ensure that your important files are safe.


