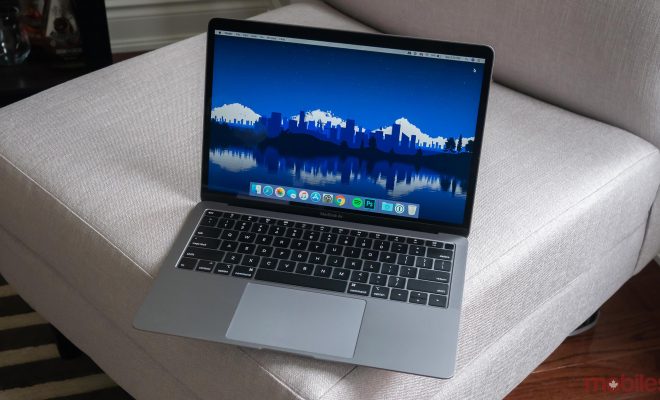
How to Upgrade a MacBook Pro With an SSD

MacBook Pros are iconic laptops that are known for their durability, performance, and style. However, as with any technology, these laptops can become outdated over time. One way to upgrade your MacBook Pro is by replacing the traditional hard drive with a solid-state drive (SSD). Upgrading your MacBook Pro to an SSD can significantly improve performance, allowing for faster boot times, application loading, and increased overall speed. Here is how to upgrade a MacBook Pro with an SSD.
- Backup Your Data
Before you begin any upgrade process, the first and foremost task is to backup your important data. There are various methods to backup your Mac’s data, like using an external hard drive or using a cloud-based storage system.
- Purchase an SSD
After backing up your data, the next step is to purchase the correct SSD for your MacBook Pro. The best option would be to buy an SSD that is compatible with your MacBook Pro model. You can choose from several SSD models available in the market like Samsung, Crucial, or SanDisk.
- Shut Down Your MacBook Pro
Once you have the SSD and your data is safely backed up, you should shut down your MacBook Pro. Make sure to turn off the power and disconnect any cables or accessories before proceeding.
- Remove the Bottom Cover of Your MacBook Pro
The next step is to remove the bottom cover of your MacBook Pro. This will give you access to the hard drive bay. The process of removing the bottom cover varies depending on the MacBook Pro model. However, most models have screws that need to be removed before the bottom cover can be taken off.
- Take Out the Old Hard Drive
Once you have removed the bottom cover, you should see the hard drive. Carefully disconnect the hard drive from the MacBook Pro by unscrewing it from its position. Make sure to keep the screws in a safe place.
- Install the SSD in Your MacBook Pro
After removing the old hard drive, it’s time to install the SSD in your MacBook Pro. Make sure to carefully disconnect all cables connected with the hard drive and connect them with the new SSD. Then place the SSD in the hard drive bay and screw it in place.
- Reattach the Bottom Cover
Finally, reattach the bottom cover of your MacBook Pro, securing the screws in their correct positions. Then reconnect all cables and accessories and turn on your MacBook Pro.
- Transfer Your Data
Once your MacBook Pro is up and running, it’s time to transfer your data back onto it. You can either restore from the backup you made earlier or transfer individual files and folders.
In conclusion, upgrading your MacBook Pro with an SSD is an easy task that can significantly improve the performance and speed of your laptop. With a few simple steps, you can enjoy faster boot times, quicker application loading, and increased overall speed on your MacBook Pro. Just remember to backup your data before you start, purchase the correct SSD for your MacBook Pro, and follow the steps carefully.


