How to Tint Car Windows
Tinting your car windows not only enhances the aesthetic appeal of your vehicle, but it also helps maintain privacy and filter out harmful UV rays. In this article, we will provide a step-by-step guide on how to tint car windows.
Materials and Tools Needed:
1. Window tint film
2. Tape measure
3. Straight edge
4. Razor blade or utility knife
5. Squeegee
6. Application solution (mix water with a small amount of dish soap)
7. Spray bottle
8. Microfiber cloth or paper towel
9. Heat gun (optional)
Step 1: Choose the Right Tint Film
Select the appropriate level of darkness for your car window tint based on your state’s regulations and personal preferences. Research the local laws and familiarize yourself with the allowed Visible Light Transmission (VLT) percentage.
Step 2: Prepare Your Workspace and Clean Your Windows
Choose a well-lit, clean, and dust-free area to work in, preferably indoors to avoid exposure to wind and debris. Begin by thoroughly cleaning your car windows both inside and outside using the application solution in a spray bottle and a microfiber cloth or paper towel.
Step 3: Measure and Cut the Tint Film
With a tape measure, determine the dimensions of each window you plan to tint. Roll out your window tint film on a flat surface with the protective liner facing up, then use a straight edge to cut the film about one inch larger than your measurements.
Step 4: Apply the Tint Film
Now that you have your tint film ready, spray plenty of application solution on one of your car’s inside windows while keeping it rolled down slightly. Carefully peel off the protective liner from one corner while spraying more solution onto the adhesive side of the film.
Starting at the top of the window, gently apply the tint film adhesive side down along the window’s top edge. Use a squeegee to smoothly press out any bubbles and wrinkles, working outwards from the center. Make sure the tint film is aligned with the window’s edges and do not worry about excess film along the bottom at this stage.
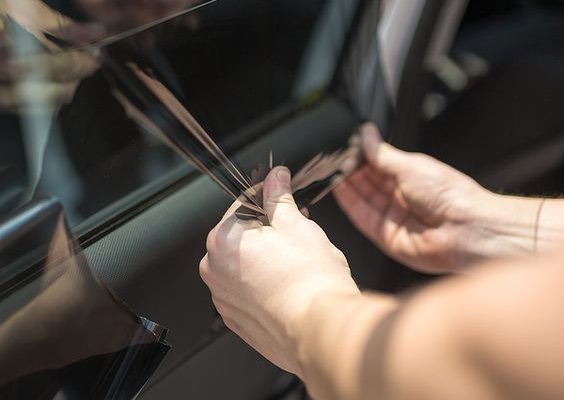
Step 5: Trim Excess Tint Film
Using your utility knife or razor blade, carefully trim away any excess tint film along the sides and bottom of the window. Be sure to maintain a steady hand and use a straight edge to guide your cuts for clean lines.
Step 6: Seal Edges and Finalize
Roll up your car window completely. If you have a heat gun, use it along the edges of your tint film to help seal them in place. If not, firmly press down on all edges using a squeegee to ensure a proper seal.
Step 7: Repeat for Remaining Windows
Follow steps 3-6 for each window you plan to tint. Allow the tint to cure for a few days without opening or closing windows.
Step 8: Clean Up and Enjoy!
Once all windows have been tinted, clean up any residual application solution left on windows or surrounding areas using your microfiber cloth or paper towel. Now, enjoy your newly tinted car windows!
Remember that practice makes perfect; if your first attempt at window tinting doesn’t go quite as planned, take note of where improvements can be made and try again. With patience and perseverance, you will soon master the art of window tinting!