How to Solder Two or More Wires Together

Soldering two or more wires together is a simple process that anyone can do with the right equipment and a little bit of know-how. Whether you need to replace or extend a wire in your electrical system, soldering will ensure a strong and reliable connection. Here are some steps to follow when soldering wires together:
1. Gather your equipment: You will need a soldering iron, solder, wire cutters/strippers, and heat shrink tubing. Make sure your soldering iron is hot enough to melt the solder (usually around 350-400 degrees Celsius). Also, ensure that the solder you use is appropriate for the job, either leaded or lead-free.
2. Prep your wires: Cut and strip the ends of the wires to be joined together, making sure to leave enough exposed wire for a secure connection. If the wire ends are frayed or uneven, use wire cutters to trim them.
3. Twist the wires: Hold the two wires together and gently twist the exposed ends together. This will ensure a strong connection and make it easier to solder.
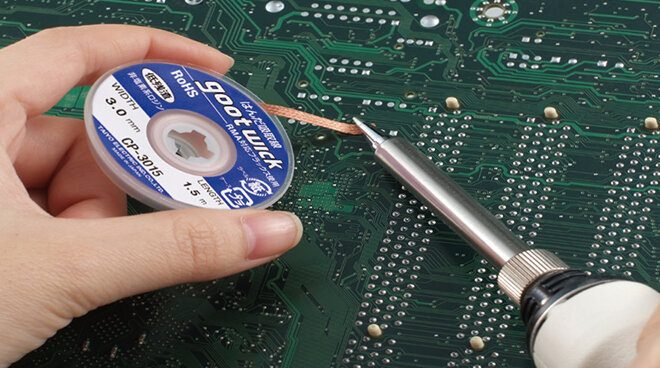
4. Apply heat: Use the soldering iron to heat the twisted wires. Touch the solder to the wire connector (not to the soldering iron tip), starting at the base where the two wires meet. Hold the solder in place until it melts and flows around the wires.
5. Allow the connection to cool: After you’ve applied the solder, hold the wires together until the solder has cooled and hardened. This process usually takes a few seconds.
6. Cover the connection: Once the connection has cooled and hardened, slide a piece of heat shrink tubing over the connection. Use a heat gun or lighter to shrink the tubing, making sure that it covers the entire connection and provides a watertight seal.


