How to Sign Into Your PlayStation Network Account

If you’re a gamer, chances are you own a PlayStation console. With access to games, discounts, and online multiplayer, a PlayStation Network (PSN) account can offer a lot of benefits. Signing in to your PSN account may seem like a pretty straightforward process, but there are a few things to keep in mind.
Here’s a step-by-step guide on how to sign in to your PlayStation Network account:
Step 1: Ensure Your Console is Connected to the Internet
Before you can sign in, make sure your PlayStation console is connected to the internet. You can do this by going to the settings section and selecting “network.” You’ll be able to see if you’re connected or not.
Step 2: Open the PSN Sign-In Page
On your PlayStation home screen, navigate to the top of the screen to the right side. You’ll see a tab that says “PlayStation Network.” Click on that tab.
Step 3: Enter Your Login Information
Once you’ve clicked on the PlayStation Network tab, you’ll be taken to a page where you can sign in. Enter your email and password, which you used to create your account. If you don’t remember your login information, you can recover it by clicking on the “forgot password” or “forgot email” option.
Step 4: Click on Sign-In
Once you’ve entered your login information, click on the “Sign-In” button. You will also have the option to check the “remember me” box, which will keep you signed in to your account until you manually log out.
Step 5: Verify Your Account
After signing in, you may be asked to verify your account. This could be in the form of an email sent to you or a security question you have to answer. Follow the instructions provided to verify your account.
Step 6: Customize Your Profile (Optional)
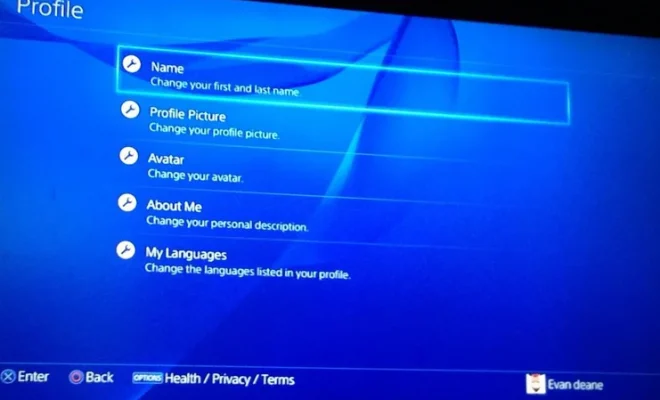
Once you’ve signed in, you can customize your PSN profile. You can add your favorite games, a profile picture, and even connect with friends. This is entirely optional, but it’s a great way to personalize your PSN experience.


