How to Set Up and Use Meta (Oculus) Quest 2

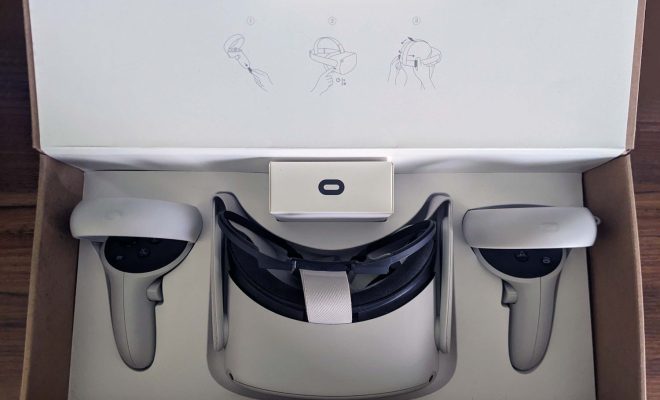
Meta Quest 2 is a virtual reality headset that can revolutionize the way in which you interact with games and other applications. However, like any technology, it may seem difficult to set up and use for the first time. So, here is a step-by-step guide that will help you set up and make the most out of your Meta Quest 2 headset.
Step 1: Prepare Your Meta Quest 2 Headset
First, ensure that your headset is charged by connecting the charging cable to the USB-C port located near the right side of the headset. Wait until the device is fully charged, which should take approximately 3 hours. Once charged, detach the cable and put the headset on.
Step 2: Download the Meta Quest 2 App
Before we launch into setting up the headset itself, download the Meta Quest 2 app to your smartphone or tablet. You can use this app to manage your VR experiences, find and purchase content from the library, and share your experiences with others.
Step 3: Pair the Meta Quest 2 with Your Smartphone
Press the power button located on the right side of the headset, holding it for approximately 2 seconds until the LED light turns on. Enable Bluetooth on your phone and search for new Bluetooth devices. The Meta Quest 2 should appear on your list of available devices. Click on it and wait for the pairing process to complete.
Step 4: Connect to Wi-Fi
Connecting to Wi-Fi is a crucial step in the setup process; without an internet connection, the Meta Quest 2 will be limited to offline content only. Navigate to the settings, and once there, click on the Wi-Fi menu. Select the appropriate network and enter the password.
Step 5: Set Up the Guardian System
The Guardian system is a software feature that will create a virtual boundary within which you can move around freely. To set it up, first, find a designated play area that is free from furniture, pets, and other hazards. Once you’ve got that sorted, click on the ‘setup guardian’ option in the settings menu. You will be guided through the process of outlining the boundaries of the play area.
Step 6: Create or Link Your Oculus Account
If you haven’t already got one, you will need an Oculus account. You can create one inside the app or on the official Oculus website. You can also link your existing Oculus account by entering your credentials.
Step 7: Explore the Store
After linking your Oculus account, explore the store to find the content you want to enjoy. From games, apps, and videos, to social experiences, the store is your one-stop-shop for all VR experiences.
Step 8: Customize Your Experience
The Meta Quest 2 allows you to customize your VR experiences in countless ways. You can change the appearance of the interface, adjust the sound and haptic feedback, create avatars, and even use voice commands to control the device.
Conclusion
The Meta Quest 2 is a game-changing device, and with these steps, you can set it up and enjoy an immersive experience. Once you’ve got your headset up and running, experiment with the vast array of content available and find out what suits your tastes. Meta Quest 2’s ease of use and versatility ensure that anyone can get started with VR gaming and other applications in no time.


