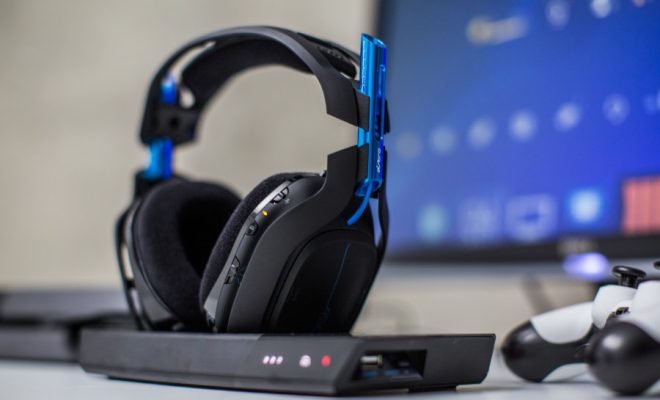
How to Set Up an Astro A50 Wireless Gaming Headset

Gaming headsets have come a long way over the years. When it comes to the Astro A50 Wireless Gaming Headset, we are talking about a premium device that can take your gaming experience to the next level. However, setting up this headset can be tricky if you’re not familiar with the process. Here’s a guide that outlines everything you need to know to set up your Astro A50 Wireless Gaming Headset.
Step 1: Unbox the Headset
The first thing you need to do is unbox the headset. The box should contain the headset itself, a base station, a USB cable, an optical cable, and a quick start guide. Make sure all the items are present and accounted for before starting the setup process.
Step 2: Charge the Headset
The Astro A50 Wireless Gaming Headset needs to be charged before use. Connect the headset to the base station using the USB cable provided. Make sure the status light on the ear cup turns red, indicating that charging is in progress. Once the headset is fully charged (which takes about 3 hours), the light will turn off.
Step 3: Connect the Base Station to Your Gaming Setup
The base station needs to be connected to your gaming setup via the optical cable. Locate the optical output on your gaming console or PC and connect one end of the optical cable to it. Connect the other end to the optical input on the base station.
Step 4: Pair the Headset with the Base Station
To pair the headset with the base station, make sure the headset is turned off. Then, press and hold the power button on the headset until the power light on the ear cup starts flashing white. This indicates that the headset is in pairing mode.
Next, press and hold the pairing button on the base station until the power light on the base station starts flashing white. This indicates that the base station is in pairing mode. The pairing process may take a few seconds, so be patient.
Step 5: Adjust Audio Settings
Once your headset is paired, it’s time to configure your audio settings. You can do this by accessing the audio settings on your gaming console, PC or mobile device.
For example, if you are using a PlayStation 4, go to Settings > Devices > Audio Devices, and set the input and output to “Astro A50 Game” for gaming audio and “Astro A50 Voice” for voice chat.
Step 6: Enjoy Your Gaming Headset
Congratulations! You have successfully set up your Astro A50 Wireless Gaming Headset. You can now enjoy your favorite games with high-quality audio and clear voice communication. Remember to keep your headset charged and updated with the latest firmware for the best performance.
In conclusion, setting up the Astro A50 Wireless Gaming Headset is a straightforward process that should take you no more than 15-20 minutes. With the above steps, you can now enjoy an immersive gaming experience that only a premium device like the Astro A50 can deliver. Happy gaming!


