How to Set the Default Account in Outlook

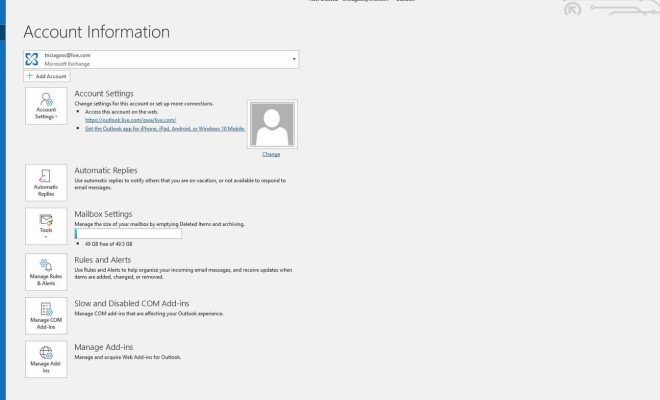
Outlook is a popular email client used by millions of people around the world. One of the most common tasks that users need to perform in Outlook is to manage multiple email accounts. By default, Outlook will use the last account you used to send an email as the default account for future emails. However, if you have multiple email accounts in Outlook, you may want to set a different account as the default account. Here’s how to set the default account in Outlook:
1.Open Outlook and click on the “File” tab in the top left corner of the screen.
2.Click on “Options” in the left-hand menu.
3.In the Outlook Options window, click on “Mail” in the left-hand menu.
4.Scroll down to the “Send messages” section and click on the “Accounts” button.
5.In the Accounts window, you will see a list of all the email accounts that you have set up in Outlook. Select the account that you want to set as the default account.
6.Click on the “Set as Default” button at the bottom of the window.
7.Click on “Close” to close the Accounts window.
That’s it! You have now set the default account in Outlook. From now on, when you compose a new email, the default account you selected will be used. If you want to change the default account again in the future, simply follow these steps and select a different account to set as the default.
It’s important to note that some versions of Outlook may have slightly different steps to set the default account. However, the basic process is the same. By setting the default account in Outlook, you can save time and avoid confusion when sending emails from multiple accounts.


