How to Send Automated Text Messages on an iPhone

Sending automated text messages on an iPhone can be useful for a variety of purposes. Whether you want to send automatic replies to missed calls, schedule reminders or appointments, or promote your business, setting up automated text messages can save you time and effort. Here’s a guide on how to send automated text messages on an iPhone.
Step 1: Choose a Text Messaging App
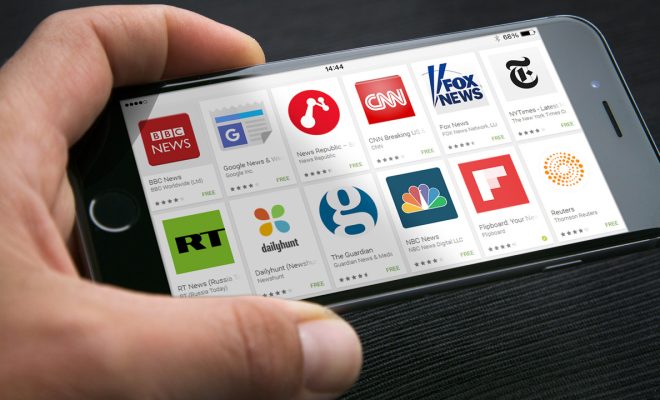
The first step is to choose a text messaging app that supports automation. There are several such apps available on the App Store, including TextExpander, If This Then That (IFTTT), and Workflow. Each app has its own features and functionality, so you’ll need to choose the one that best suits your needs.
Step 2: Create a New Workflow
Once you’ve installed the app, create a new workflow by tapping on the “Create Workflow” button. You can choose from a range of triggers, such as “When I receive a new SMS message” or “When I get a missed call.” Select the trigger that you want to use to automate your text message.
Step 3: Add Actions
Next, you’ll need to add an action to your workflow. This could be anything from sending a pre-written text message to setting a reminder, opening an app or sending an email. You can customize the message or action that you want to send, depending on the trigger you’ve selected.
Step 4: Test Your Workflow
Before you start using your automated text message, it’s important to test it to ensure that it’s working correctly. Send a test message to yourself or a friend to make sure that it’s being sent at the right time and with the correct content.
Step 5: Wait for the Trigger
Finally, wait for the trigger to occur. For example, if you’ve set up your workflow to send an automatic text message when you receive a missed call, wait for the next time you miss a call. When the trigger occurs, your automated text message will be sent automatically


