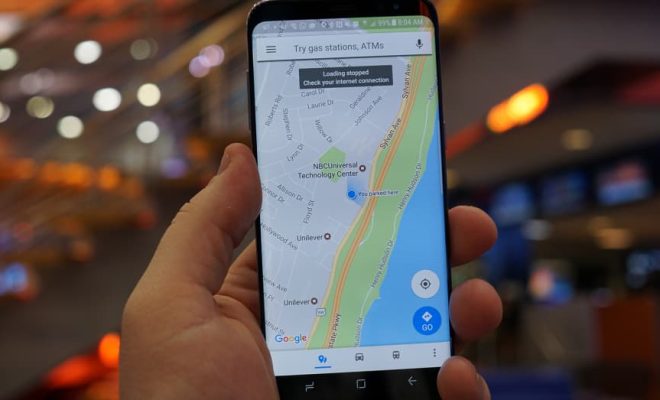
How to Save and Find Your Parking Location in Google Maps

In the hustle and bustle of city life, finding a parking spot can be a real challenge. But just as important as finding the perfect spot is remembering where you parked your car. With Google Maps, you can eliminate those headaches and save yourself time and frustration. Here are some simple steps to help you save and find your parking location in Google Maps.
Step 1: Open Google Maps
The first step is to fire up Google Maps on your phone. The app comes pre-installed on most Android devices and can also be downloaded from the App Store on iOS devices.
Step 2: Parking Location
Once you open the app, you will see your location on the map. Tap on the blue dot that represents your current location to bring up a menu of options. From the list, choose the “Set as Parking Location” option.
Step 3: Confirm your Parking Location
After tapping on “Set as Parking Location,” Maps will mark your parking spot with a label that says “You parked here.” The app will also save the location to your search history, so even if you close the app, you can still easily find your way back to your car.
Step 4: Find your Parking Location
When you’re ready to return to your car, open up Google Maps again and find your current location. Once you see where you are on the map, tap on the blue dot to bring up the menu of options. Choose the “Show Parking Location” option, and Maps will display a pin on the map indicating where you last parked.
Conclusion
Google Maps has made finding and saving your parking location a breeze. By using the “Set as Parking Location” and “Show Parking Location” features, you can easily keep track of your car and avoid any frustration when it comes time to head back home. So next time you’re out and about, be sure to use Google Maps to save yourself some time and hassle.


