How to Repair a Cracked Mirror: 13 Steps
A cracked mirror can be an eyesore in your home, but fear not – it is possible to repair the damage and restore the mirror to its former glory. Here are 13 steps to help you repair a cracked mirror:
1. Assess the damage: Inspect the mirror and decide whether it’s worth fixing or if a complete replacement is necessary. If the crack is severe or the glass is shattered, it’s best to replace the entire mirror.
2. Clear the area: Make sure you have enough space to work around the mirror. Remove any furniture or items that might obstruct your work area.
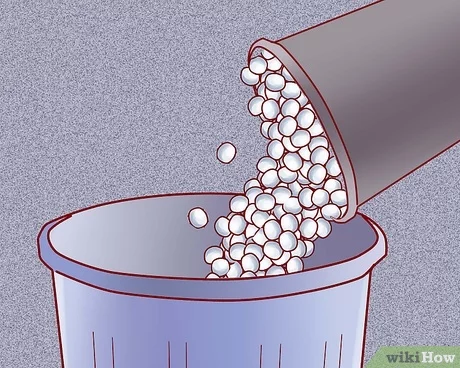
3. Gather supplies: You will need a pair of gloves, safety goggles, a clean cloth, rubbing alcohol, mild dish soap, paint thinner, clear nail polish, masking tape, and high-quality glass adhesive.
4. Clean the mirror: Mix a few drops of dish soap with water and clean the mirror using the soapy solution. Rinse well with clean water and let it dry completely.
5. Wear safety gear: Put on your gloves and safety goggles to prevent any injury while working on the repairs.
6. Mask off the work area: Use masking tape to mask off an area around the cracks so that any adhesive or polish doesn’t spill onto undamaged portions of the mirror.
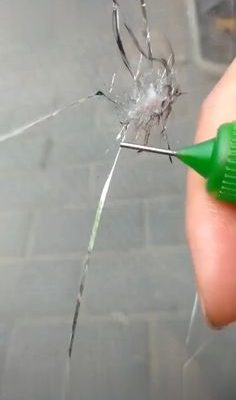
7. Apply clear nail polish: Carefully apply a thin layer of clear nail polish along the crack, allowing it to seep into any gaps. Allow it to dry completely before proceeding.
8. Remove excess nail polish: Using paint thinner on a clean cloth, gently remove any excess dried nail polish from around the crack.
9. Mix your glass adhesive: Following manufacturer instructions, mix your glass adhesive well.
10. Apply glass adhesive: Using a small applicator tool or toothpick, carefully apply glass adhesive along the entire length of the crack. Be mindful not to create air bubbles as you work.
11. Dry the adhesive: Allow the adhesive to dry for the recommended time in the product instructions, typically at least 24-48 hours.
12. Remove masking tape: Once the adhesive is completely dry, carefully remove the masking tape.
13. Clean your mirror: Using a clean cloth and rubbing alcohol, gently clean the surface of your repaired mirror to remove any residue or fingerprints.
By following these steps, you have successfully repaired a cracked mirror. Although it may not be perfect, your mirror should now be functional and looking better than it did before. Remember that fixing a cracked mirror doesn’t guarantee its longevity, so take extra care to prevent any further damage in the future.