How to Remove Staples: 9 Steps

Removing staples is a simple yet essential task in an office or at home. Whether it’s for fixing a mistake, separating documents, or recycling papers, knowing the proper method to remove staples can save time and prevent damage to your documents. Here are nine easy steps on how to remove staples.
1. Gather the necessary tools
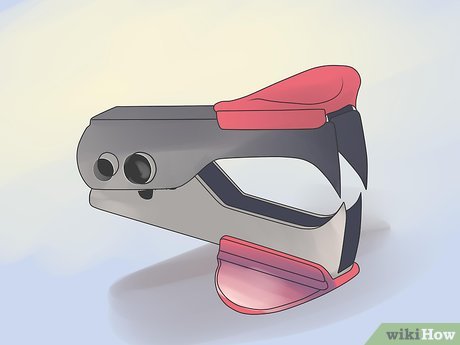
Before you begin, make sure you have a staple remover and a pair of pliers nearby. These tools will help you remove the staple easily and safely.
2. Place the document on a flat surface
Lay the stapled document down on a solid, flat surface like a desk or countertop. This will keep the paper steady while you work on removing the staple.
3. Identify the legs of the staple
Find the two bent legs of the staple on the reverse side of the document. These are usually pressed tightly against the paper.
4. Use a staple remover
Place one end of the staple remover under one leg of the staple, then apply gentle pressure to lift it away from the paper. Repeat for the other leg, avoiding damaging or tearing the paper as you go.
5. Pry up both legs of the staple
Once both legs are loosened from the paper, use your fingers to gently pry them up so they’re no longer pressed flat against it.
6. Remove any broken legs
If any part of the staple is broken during removal, use pliers or tweezers to grasp it securely and gently pull it out.
7. Lift out the staple
With both ends of the staple lifted and separated from the paper, carefully slide it out of its original position.
8. Separate your documents
Now that your staple is removed successfully, you can separate your documents or rearrange them as needed.
9. Dispose of staples responsibly
Discard used staples safely in a proper container or designated area to prevent injury or damage.
In conclusion, removing staples is an easy and quick process when approached correctly. Follow these nine simple steps to ensure you can remove staples efficiently and without damaging your documents. Happy unstapling!

