How to Record Streaming: 13 Steps

Streaming has become an essential part of our daily lives, with numerous platforms like Netflix, Hulu, Twitch, and YouTube offering a wide range of content. While it’s easy to enjoy live streams, there may be moments when you’d like to record them for later viewing or sharing. In this article, we’ll guide you through 13 steps on how to record streaming successfully.
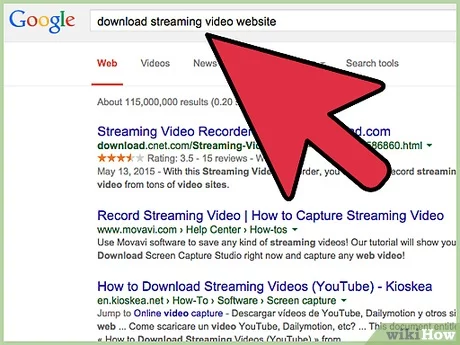
Step 1: Choose the Right Software
There are many recording tools available, both free and paid versions. Research the most suitable recording software for your needs. Examples include OBS (Open Broadcaster Software), Streamlabs OBS, XSplit, and Bandicam.
Step 2: Download and Install the Software
Once you’ve chosen your preferred recording software, download it from the official website or a trusted source and follow the installation process accordingly.
Step 3: Configure the Recording Settings
Set up the software according to your preferences. This may include video and audio quality, output format, destination folder for saved recordings, hotkeys (shortcut keys), and more.
Step 4: Set Up Audio Inputs
Ensure both your microphone input (if you’re providing commentary) and system audio input are enabled to capture all sounds during streaming.
Step 5: Determine Screen Area/Window
Select the specific region of the screen or window you want to capture during streaming. Most recording software allows you to customize this setting.
Step 6: Prepare Your Streaming Platform
Open your desired streaming platform like Netflix, Twitch, or YouTube and locate the content you wish to record.
Step 7: Test Your Setup
Before starting an actual recording session, do a test run by recording a short clip. This helps verify if all settings have been correctly configured.
Step 8: Start Recording
Once satisfied with your test run results, begin recording your desired streaming content by clicking ‘Start Recording’ in your software or using the designated hotkeys.
Step 9: Minimize Interruptions
Ensure that all notifications and background applications are muted or disabled to allow for a seamless recording experience.
Step 10: Track Record Time
Record streaming content only for the required duration. Over-recording may result in large file sizes and potential storage issues.
Step 11: Stop Recording
Click on the ‘Stop Recording’ button or use the appropriate hotkeys to stop your recording.
Step 12: Save Your Recorded File
If your software doesn’t automatically save the recorded file, ensure you save it manually in your desired location.
Step 13: Edit and Share Your Recording (Optional)
Use video editing software to cut, trim, or add effects to your recorded content if necessary. Share your edited recording with your friends or upload it online for others to enjoy.
By following these 13 steps, you’ll be well-equipped to record streaming content for various purposes. Don’t forget always to respect copyrights and adhere to platform guidelines when sharing your recordings.

