How to Put Photo Paper in a Printer
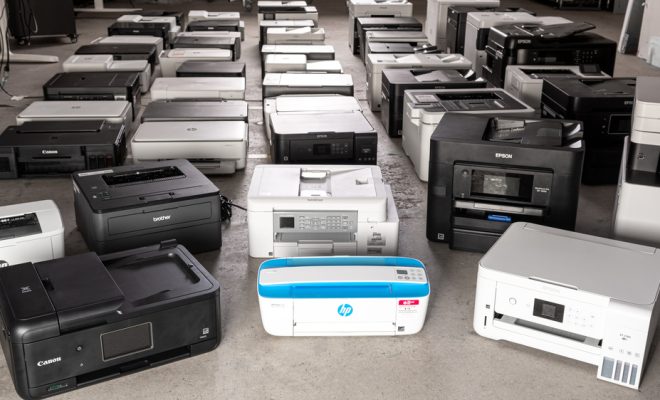
With a good quality photo paper and a printer, you can produce high-quality photos that rival those developed at a professional studio. Knowing how to load photo paper into a printer is a fundamental skill to ensure that you get the best results from your printer. Here is a step-by-step guide on how to put photo paper into your printer.
Step 1: Gather Your Supplies
Before starting, you need to gather your supplies, including your printer, photo paper, and computer. Make sure that you have the correct type of photo paper that is compatible with your printer. You should also review the printer manual to ensure that you are using the correct paper orientation.
Step 2: Adjust Your Printer Settings
Once you have gathered all the necessary supplies, you need to adjust your printer settings. Open your computer and locate the printer settings. Most printers come with pre-set photo printing settings that you can choose from. If your printer does not have these settings, you can adjust the print settings manually using the software provided by the printer manufacturer.
Step 3: Load Your Photo Paper
Open the paper tray of your printer and remove any paper that may be inside. Before loading your photo paper, make sure that you have removed any packaging materials if it was sealed in plastic. Check the paper for damage or any blemishes that may compromise the quality of the printed photos.
Insert the photo paper into the tray, paying attention to the paper orientation. Most photo paper has a glossy or matte side. Make sure that you load the paper with the printing side facing down. Some printers have specific guidelines on how to load the photo paper, so consult your manual for more information.
Once you have loaded the paper, adjust the tray guides to ensure that the paper fits snugly against them. You should also ensure that the paper is not too tight or too loose to avoid jamming the printer.
Step 4: Print Your Photos
Once you have loaded the photo paper, you are ready to start printing your photos. Access your printer settings on your computer, and select the appropriate settings for your photo paper. Make sure that the settings match the type, size, and orientation of the photo paper.
Click on the print button and wait for the printer to finish printing your photos. Do not remove the photo paper from the tray until the printer has finished printing.
In conclusion, knowing how to load photo paper into a printer is essential to produce high-quality photos from the comfort of your home. By following the steps outlined above, you should be able to load and print your photos with ease. Remember to always use the right type of paper, check paper orientation, and adjust your printer settings for optimal results.

