How to Print Your Outlook Address Book

Printing a hard copy of your Outlook address book can be very helpful when you need to share your contact information with others or when you need to refer to your contacts without having to access your computer. Here’s a step-by-step guide on how to print your Outlook address book:
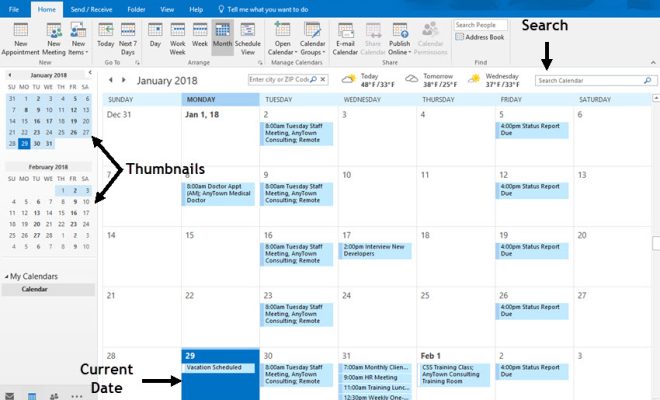
Step 1: Open Outlook on your computer and navigate to the Contacts tab.
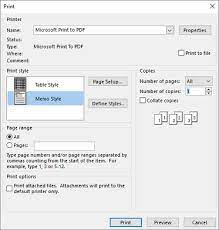
Step 2: Click on the “File” menu on the top left side of the screen and select “Print”.
Step 3: In the Print dialog box that appears, select “Contacts” under the “Print What” section.
Step 4: Choose the format for your address book by selecting “Memo Style” or “Address Cards” under the “Print Style” section. Memo Style will print a list of your contacts’ names and details, while Address Cards will print your contacts’ information in a business card format.
Step 5: Select any specific contacts you want to print by clicking on the “Print Options” button and choosing the “Selected Contacts” option. If you want to print all your contacts, leave this option unchecked.
Step 6: Choose any other printing preferences you want, such as the number of copies you need, the size of the paper you want to print on, or any additional printing settings.
Step 7: Once you’ve selected all your preferences, click on the “Print” button to begin printing your Outlook address book.
Printing your Outlook address book is a quick and easy process that can be completed in just a few clicks. With these simple steps, you can have an updated and organized hard copy of your address book in no time.


