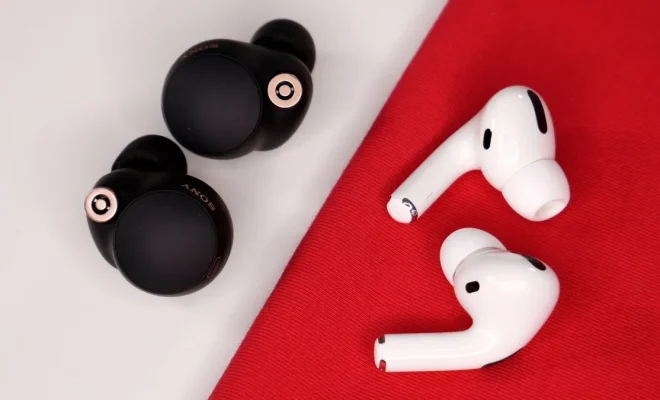
How to pair Apple AirPods with your Windows 10 PC in less than a minute

Apple AirPods, known for their sleek design and excellent audio quality, are not just limited to being used with Apple devices. In fact, you can easily pair your AirPods with a Windows 10 PC in less than a minute by following these simple steps:
1. Enable Bluetooth on your Windows 10 PC: To do this, click the Windows icon at the bottom-left corner of your screen. Then, click on the gear icon to open the “Settings” app, select “Devices,” and ensure that Bluetooth is turned on.
2. Put your AirPods in pairing mode: Open the lid of your AirPods’ case and press and hold the small button on the back of the case until you see the LED light on the front starts blinking white. This indicates that your AirPods are in pairing mode and ready to connect.
3. Search for devices on your Windows 10 PC: In the same “Devices” settings window where you enabled Bluetooth, click on “Add Bluetooth or other device.” A new “Add a device” window will appear, and here, you need to select “Bluetooth.”
4. Pair your AirPods with Windows 10 PC: Your PC should now display the list of available devices. Look for “AirPods” or “AirPods Pro” in this list (depending on which model you have) and click on it to connect.
5. Confirm pairing: A notification will ask you to confirm whether you want to pair your AirPods with the device. Once confirmed, it should only take a few seconds before your AirPods are successfully connected to your Windows 10 PC.
And there you have it – Apple AirPods paired with a Windows 10 PC in under a minute! Now you can enjoy listening to music, podcasts, or attending video conferences without missing a beat.


