How to Mount and Access Windows NTFS Drives in Linux

If you’ve recently made the switch from Windows to Linux, one of the first things you might notice is that you can no longer access your Windows NTFS drives. NTFS is the file system format used by Windows, and by default, Linux does not have built-in support for NTFS. However, with a few simple steps, you can easily mount and access your NTFS drives in Linux.
Step 1: Install NTFS-3G
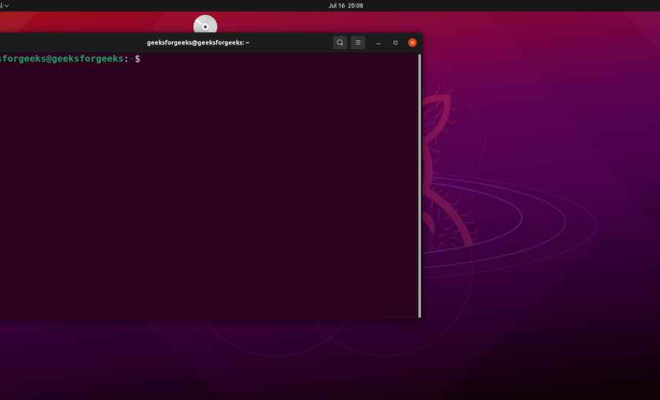
NTFS-3G is an open-source driver that allows Linux to read and write to NTFS partitions. To install NTFS-3G, open the terminal and type the following command:
sudo apt-get install ntfs-3g
Step 2: Identify the NTFS Drive
To mount an NTFS drive, you first need to identify it. Open the terminal and type the following command to list all of the drives on your system:
sud
This will display a list of all the drives on your computer. Look for the drive that corresponds to your NTFS partition. It will usually be labeled as “NTFS” or “Windows NTFS.”
Step 3: Make a Mount Point
Before you can mount the NTFS drive, you need to create a mount point. A mount point is a directory where the NTFS drive will be attached. To create a mount point, open the terminal and type the following command:
sudo mkdir /media/ntfs
This will create a directory called “ntfs” in the “media” folder.
Step 4: Mount the NTFS Drive
To mount the NTFS drive, type the following command:
sudo mount -t ntfs-3g /dev/sda1 /media/ntfs
Replace “/dev/sda1” with the location of your NTFS partition, which you found in Step 2. Also, replace “/media/ntfs” with the location of your mount point, which you created in Step 3.
Step 5: Access the NTFS Drive
Once you’ve mounted the NTFS drive, you can access it in Linux like any other folder. Open your file manager and navigate to the “/media/ntfs” folder. You should see all of the files and folders on your NTFS partition.


