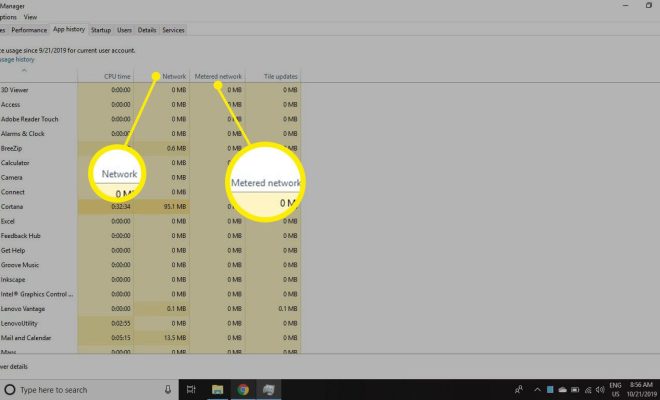
How to Monitor Your Data Usage in Windows 10

If you are using a limited data plan, it is important to monitor your data usage to avoid exceeding your plan and incurring extra charges. Windows 10 has a built-in feature that allows you to monitor your data usage and set data usage limits. In this article, we will show you how to monitor your data usage in Windows 10.
Step 1: Open Settings
Click on the Start menu and click on the gear icon to open the Settings app.
Step 2: Click on Network & Internet
In the Settings app, click on “Network & Internet” to access the network settings.
Step 3: Click on Data usage
In the Network & Internet settings, click on “Data usage” to access the data usage settings.
Step 4: View your data usage
In the Data usage settings, you can see how much data you have used over the past 30 days. You can also see which apps are using the most data.
Step 5: Set data usage limits
To set a data usage limit, click on “Set limit” under “Data limit”. You can choose a monthly limit or a one-time limit. Once you have set a limit, Windows will notify you when you are about to reach your limit.
Step 6: Restrict background data usage
To further reduce your data usage, you can restrict background data usage for certain apps. Click on “Background data” under “Data usage” and toggle off the apps you want to restrict.
Conclusion
Monitoring your data usage in Windows 10 is easy and can help you avoid exceeding your data plan. By setting data usage limits and restricting background data usage, you can save money on your monthly bill.


