How to Make Lye: 15 Steps
Step 1: Gather Safety Equipment
Before beginning the process of making lye, ensure you have all the necessary safety equipment, including gloves, goggles, and a well-ventilated work area.
Step 2: Collect Wood Ash
Wood ash is the primary ingredient for making lye. Hardwood ash, such as oak and maple, is the preferred choice for creating a stronger lye solution.
Step 3: Prepare a Container
Find a large container made of plastic or ceramic material to hold the wood ash. Avoid using metal containers as they can react with the lye.
Step 4: Create a Filter System
Line the bottom of your container with a layer of clean sand or gravel. Add a layer of straw on top of this base layer to act as a filter for your lye water.
Step 5: Add Wood Ash
Place the wood ash directly on top of the straw. Fill your container about three-quarters full with ash.
Step 6: Boil Water
Boil clean, cold water in a large pot. The purpose of boiling is to remove impurities and increase the potency of your lye solution.
Step 7: Pour Water Over Wood Ash
Slowly pour the boiling water over the wood ash in your container. Be cautious – steam may be released as hot water comes into contact with the ash.
Step 8: Saturate Ash with Water
Pour enough water to completely saturate the ash, but don’t overfill. The water will slowly drain through the ash and filter through the straw and gravel layers below.
Step 9: Let It Drain
Allow the solution to drain into another container placed beneath your primary container. This process may take several hours or even overnight.
Step 10: Strength Test
To determine if your lye solution is potent enough for soap making, perform a simple test. Float an egg or a potato in the solution — if it’s strong enough, part of the eggshell or potato should remain visible above the surface.
Step 11: Cooking the Lye Solution (Optional)
For a stronger solution, simmer the lye water on low heat for 30 minutes to an hour. This step requires careful monitoring – never leave the solution unattended while cooking.
Step 12: Strain and Cool
Strain your lye solution through a cloth to remove any remaining ash or impurities. Allow it to cool before using in your intended projects.
Step 13: Store Unused Lye
If you don’t plan on using all of your homemade lye immediately, store it in a glass container with an airtight lid and label it “lye” for future use.
Step 14: Proper Disposal
Dispose of leftover ash and impurities in your compost bin or by spreading them around your garden. They can act as a natural fertilizer for soil.
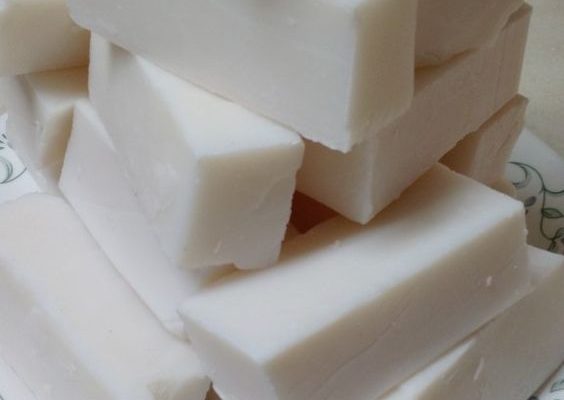
Step 15: Utilize Your Homemade Lye
You can now use your homemade lye for soap making, cleaning purposes, or even traditional food recipes that call for lye, such as pretzels or hominy.
By following these steps, you can successfully create lye using basic materials. Just remember to always practice proper safety precautions when working with this caustic substance. Happy crafting!