How to Make Felt Balls: 12 Steps
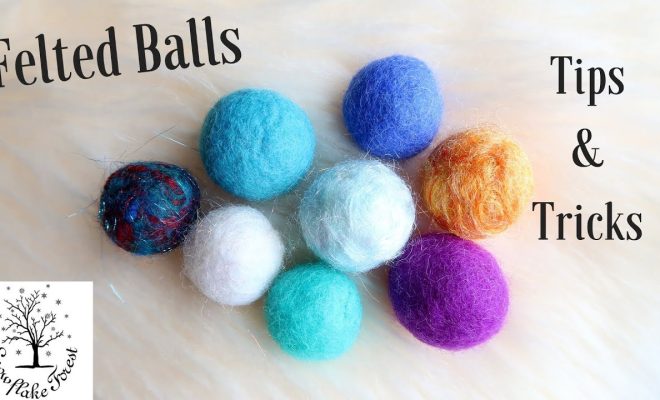
Felt balls are versatile craft items that can be used for decoration, jewelry, or even as stress-relieving tools. Creating your own felt balls is a fun and surprisingly simple process that can be enjoyed by people of all ages. With just a few basic materials and a little patience, you can create an array of colorful and unique felt balls to enhance your projects. In this article, we’ll walk you through 12 easy steps on how to make felt balls.
1. Gather materials:
To get started, you’ll need the following materials:
– Wool roving
– Warm water
– Dish soap
– A bowl or shallow container
– Old pantyhose or tights (optional)
– A towel
2. Choose the colors:
Select the colors of wool roving that you’d like for your felt balls. You can use one solid color or create a mixture of multiple shades for a more vibrant appearance.
3. Prep the wool:
Gently pull apart the wool roving into smaller sections about 4 inches long. The width of the sections will depend on the desired size of your finished felt balls.
4. Create a core:
Roll the wool section tightly into a ball-like shape, making sure to keep it as compact as possible.
5. Add layers:
Add layers of wool by wrapping additional strands around your core, alternating colors if desired. Continue until you’ve achieved your desired size.
6. Prepare the soapy water:
Fill a bowl with warm water and add a small amount of dish soap. Mix well to create a soapy solution.
7. Dip the wool ball:
Immerse the wool ball in soapy water, then gently squeeze out excess water back into the bowl.
8. Roll the ball gently:
Begin to roll the ball between your palms gently while applying light pressure, focusing on creating an even shape.
9. Increase pressure:
As the fibers begin to felt, gradually increase pressure while continuing to roll the ball between your palms. This process will take several minutes.
10. Rinse and repeat:
When the felt ball has reached your desired firmness, rinse it under cold water while continuing to roll. This will help to remove excess soap.
11. Dry the felt balls:
Place your finished felt balls between two layers of a towel and press gently to remove excess water. If desired, you can place each ball inside a pantyhose leg to help maintain its shape as it dries.
12. Allow drying completely:
Leave the felt balls in a warm area to dry completely (this may take up to 24 hours). Once dry, your handmade felt balls are ready for use in various projects!
In conclusion, making felt balls is an enjoyable activity that allows you to express your creativity. By following these 12 steps, you’ll have an assortment of beautiful and functional handcrafted felt balls perfect for countless crafts and uses.