How to Make CO₂: 13 Steps for Success

Introduction:
Carbon dioxide (CO₂) is a vital greenhouse gas that plays an important role in the Earth’s atmospheric balance. Understanding how to create CO₂ can be beneficial for various purposes, such as home carbonation, aquariums, and indoor gardening. In this article, we will provide step-by-step instructions on how to produce CO₂ safely and effectively.
Step 1: Gather Materials
To make CO₂, you will need the following materials:
– A 2-liter plastic bottle with a cap
– White sugar
– Dry active yeast
– Warm water
– A balloon
– A funnel
Step 2: Sanitize Equipment
Ensure that the plastic bottle, cap, and funnel are thoroughly cleaned and dried to prevent unwanted bacterial growth during the process of CO₂ production.
Step 3: Measure Sugar and Water
Measure approximately one cup of white sugar and two cups of warm water to initiate yeast fermentation.
Step 4: Combine Sugar and Water in a Bottle
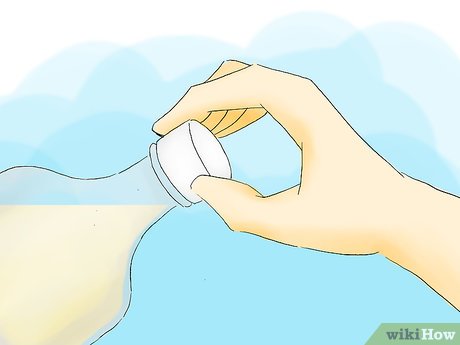
Pour the sugar into the plastic bottle using a funnel. Then, add warm water to the bottle and swirl gently until the sugar dissolves completely.
Step 5: Activate Dry Yeast
Refer to your chosen yeast package for instructions on how to activate it. Typically, this entails adding the yeast to a small portion of warm water (usually not exceeding 110°F or 43°C) with a pinch of sugar. Let it sit for about ten minutes or until foamy.
Step 6: Add Yeast Mixture to Bottle
Carefully pour the activated yeast mixture into the bottle containing sugar water. Gently swirl the bottle to mix the contents thoroughly.
Step 7: Seal With Balloon
Stretch the mouth of the balloon over the neck of the plastic bottle to create an airtight seal.
Step 8: Leave Room for CO₂ Expansion
Make sure some space is available in the bottle for gas expansion. CO₂ production will cause the balloon to inflate.
Step 9: Store Bottle in a Warm, Dark Place
Place the bottle in a warm, dark environment (ideally around 70°F or 21°C) to optimize yeast’s fermentation process. You can repurpose a cabinet, pantry, or closet for this purpose.
Step 10: Monitor Progress
Observe any change in balloon size over time. It should begin to inflate due to CO₂ production within the first few hours, reaching maximum inflation after approximately 48 hours.
Step 11: Replace Components as Needed
The yeast will consume sugar during fermentation and gradually lose activity. You can keep the CO₂ production going by replacing sugar and yeast every two weeks or when balloon inflation subsides.
Step 12: Safely Release CO₂
When desired CO₂ levels are reached, carefully remove the balloon from the bottle’s neck and slowly release the gas where it’s needed – inside a greenhouse or an aquarium with a tube, for example.
Step 13: Properly Dispose of Waste Materials
Pour residual liquid from the bottle into your sink and discard the yeast sediment. Rinse the bottle thoroughly before using it again or recycling it.
Conclusion:
Creating CO₂ at home through yeast fermentation is relatively simple and budget-friendly. Following these thirteen steps will yield results suitable for use in gardening, carbonating beverages, and aquatic environments. However, always remember to use caution when handling pressurized gases and utilize appropriate safety measures for optimal results.


