
How to Make a Soap Carving: 12 Steps
Creating a soap carving is a fun, easy, and inexpensive way to express your artistic talents. With just a few supplies and simple techniques, anyone can turn a bar of soap into a beautiful work of art. In this article, we will walk you through 12 steps for making your own soap carving at home.
1. Gather your supplies:
For this project, you will need:
– A bar of soap (white or light-colored soaps work best)
– Carving tools (a plastic knife, toothpicks, and various utensils)
– A small towel or paper towels
– A flat surface for carving (like a cutting board or baking sheet)
2. Choose your design:
Select the subject or pattern for your soap carving. You can sketch your design onto the soap with a pencil or use an image as inspiration.
3. Soften the soap:
To make it easier to carve, soften the soap by rubbing it between your hands with a little bit of water.
4. Outline the design:
With a pencil or toothpick, lightly outline your design onto the surface of the softened soap.
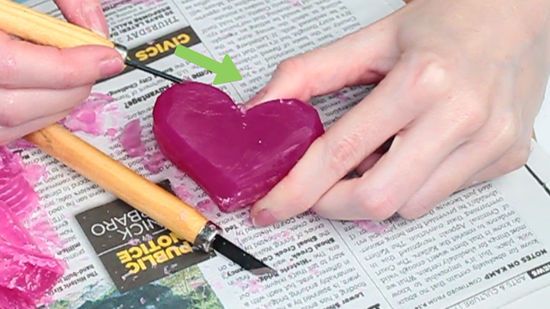
5. Begin to carve:
Using your plastic knife, slowly and carefully start to remove excess soap around your outline. Remember to carve away from yourself to avoid injuries.
6. Create rough shapes:
Focus on cutting larger pieces of soap first to create rough shapes before working on smaller details.
7. Smooth out rough edges:
As you get closer to completing the main form of your carving, use tools like toothpicks and other utensils to smooth out any rough areas.
8. Add details:
Add finer details such as facial features, patterns, or texture using smaller tools like toothpicks or small utensils. Be patient and take your time; precision is key for creating realistic details.
9. Fix imperfections:
If any part of your design appears uneven, use your carving tools to make adjustments and smooth out any rough spots.
10. Clean up:
Use a small towel or paper towels to clean any remaining soap shavings from your carving. This will help keep your work area tidy and prevent the soap from becoming slippery.
11. Let it dry:
Allow your finished soap carving to dry thoroughly for at least 24 hours before handling or using it. This will help to prevent any unwanted smudges or damage.
12. Display your masterpiece:
Once the soap carving is completely dry, find a suitable place to display it where it won’t be exposed to water or damp conditions. This will ensure that your artistic creation stays intact and can be admired for a long time.
With these 12 steps, you’re now ready to embark on your soap carving journey. By practicing and honing your skills, you can create even more intricate and impressive designs. Ultimately, soap carving is a fun and engaging way to explore your creativity while creating something unique and beautiful.


