How to Install Metal Roofing: 13 Steps
Introduction:
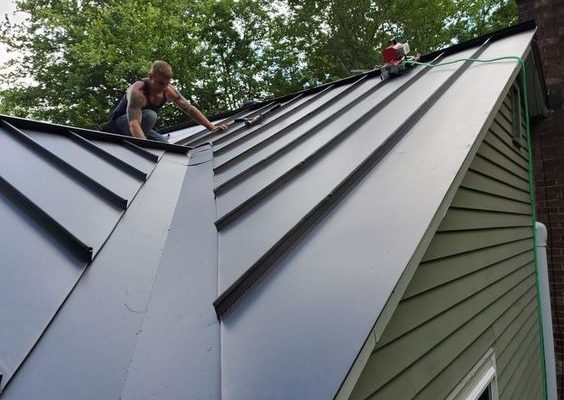
Metal roofing is a popular choice for many homeowners due to its durability, energy efficiency, and low maintenance requirements. Installing a metal roof can be a challenging DIY project, but with the right tools and following these steps, you can successfully install metal roofing on your home.
1. Gather necessary materials and tools: Before starting the project, ensure you have all the required materials such as metal panels, screws, metal roofing underlayment, sealant, and proper tools like a drill, tape measure, gloves, and safety glasses.
2. Remove old roofing materials: Carefully remove any old shingles or materials from your roof to provide a clean surface for the new installation.
3. Inspect and repair the roof surface: Thoroughly examine the sheathing or decking of the existing roof for any damage or rot. Repair or replace any damaged areas to ensure a secure base for the metal roofing.
4. Install underlayment: Lay down a layer of synthetic underlayment or roofing felt on top of the sheathing. This will create a barrier between the metal roof and your home’s structure to prevent moisture damage.
5. Measure and trim metal panels: Measure the length of your roof and trim the metal panels accordingly using tin snips or a power shear to fit the specific measurements.
6. Install eave flashing: Attach eave flashing to the lower edge of your roofline using roofing screws. This will help direct water away from your home and protect against damage caused by heavy rain.
7. Begin panel installation: Starting from one corner of your roof, align the first metal panel so that it overhangs by at least 1 inch on all sides.
8. Secure metal panels: Fasten each panel using specially designed screws for metal roofing. These screws usually come with sealing washers to prevent leaks around screw holes.
9. Overlap panels: Place the next panel so that it overlaps the first one by at least an inch. This will form a strong watertight seal and protect your home from leaks and other weather-related damage.
10. Install ridge cap: Attach a ridge cap over the seam where two panels meet at the peak of your roof. This will provide extra protection against water intrusion and improve the overall appearance of your metal roofing.
11. Install flashing: Install additional flashing around vents, chimneys, or other structures protruding from your roof to prevent water from seeping in around these areas.
12. Seal exposed edges and seams: Using a high-quality metal roofing sealant, seal any exposed edges or seams to ensure a watertight installation.
13. Inspect your work and clean up: Double-check your entire installation for any loose screws or gaps that might allow water penetration. Once satisfied with the installation, clean up any leftover debris and materials from around your home.
With these 13 steps, you now have a durable and weather-resistant metal roof, ensuring years of protection and energy savings for your home.