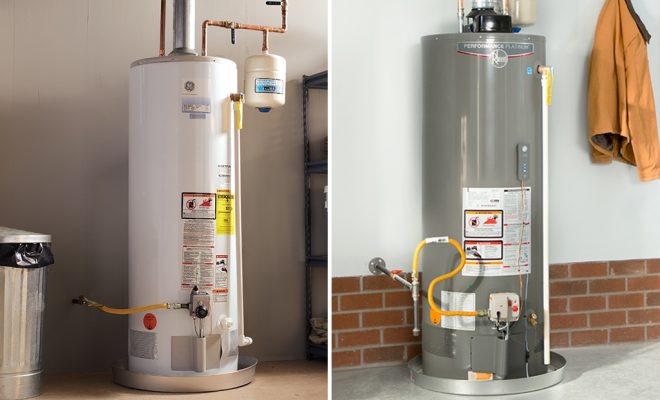
How to Install a Water Heater

A water heater is a crucial component in any home, providing hot water for showers, dishwashing, and laundry. If your water heater has worn out or if you are looking to upgrade, installing a new one may seem daunting. This article aims to guide you step by step through the process of installing a water heater. Both gas and electric heater installations are covered in these instructions.\
Before you get started:
1. It’s important that you consult your local building code authority for specific requirements in your area.
2. Make sure to read the manufacturer’s instructions carefully for any specific guidelines related to the water heater model you’ve chosen.
3. If you are uncomfortable handling electrical work or gas lines, hiring a professional is highly recommended.
Let’s begin with the installation:
Gas Water Heater Installation
1. Turn off the gas supply, disconnect gas line and disconnect vent pipe from old water heater.
2. Remove old water heater and place new one in its location.
3. Align the vent pipe and connect it with appropriate fittings (such as elbows or ducting), ensuring there’s adequate ventilation.
4. Reattach the gas line using a pipe compound or Teflon tape on threaded fittings.
5. Connect the exhaust vent by following the manufacturer’s guidelines.
Electric Water Heater Installation
1. Begin by turning off the power supply at the main circuit breaker/fusebox.
2. Disconnect electrical wires from the old water heater and remove it from its location.
3. Place the new electric water heater into position and level it using shims if necessary.
4. Refer to manufacturer’s guidelines for connection of electrical wires (usually color-coded).
5. Wrap up with ground wire connections based on the manufacturer’s instructions.
Plumbing Connections (for both Gas and Electric Water Heaters)
1. For cold and hot water connections, use flexible copper or stainless steel connectors which are more durable than plastic tubing.
2. Apply Teflon tape or pipe compound on the thread for a leak-free connection.
3. Tighten and secure cold-water inlet and hot-water outlet with a wrench.
4. Install temperature and pressure relief (TPR) valve by inserting its threaded end into the designated hole on the tank and tightening it using a wrench.
5. Attach discharge pipe, extending it to within 6 inches of the floor to guide any runoff safely away.
Final Steps
1. Fill the water heater tank by turning on a hot water faucet somewhere in the house – this will release air from the tank as it fills up.
2. If you’ve installed a gas unit, turn gas supply back on and light pilot as per manufacturer’s instructions.
3. Restore power at circuit breaker/fuse box if you’ve installed an electric unit.
4. Check for leaks around all connections, ensuring everything is correctly sealed.
It’s important to maintain your new water heater according to manufacturer guidelines to ensure its efficiency and longevity. Now that you’ve successfully installed your water heater, you can enjoy hot water throughout your home once again!


