How to Hang a Slab Door: 12 Steps

A slab door, also known as a blank door, is a simple yet elegant choice for homeowners looking to install a new door. Whether you’re replacing an old one or simply changing the look of your room, hanging a slab door is an accessible project that you can tackle with the right tools and a little patience. Here’s a step-by-step guide on how to hang a slab door in 12 easy steps:
1. Measure the Door Opening: Begin by measuring the height and width of your door opening. This will help you choose the correct size slab door for your needs.
2. Choose Your Slab Door: Once you have your measurements, select the appropriate slab door based on style, material, and dimensions.
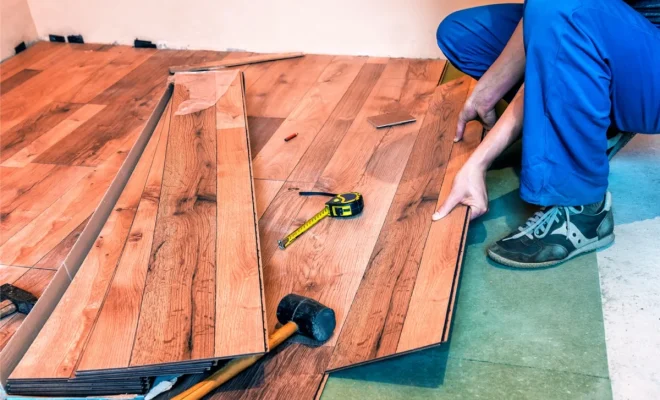
3. Gather Tools and Materials: To prepare, gather all necessary tools and materials needed for installation. You will need screws, shims, a level, tape measure, sawhorses, drill or cordless screwdriver, wood chisel, pencil for marking, and safety gear such as gloves and goggles.
4. Prepare the Door: Place the slab door on sawhorses and remove any protective packaging. Inspect the door for damages before proceeding with installation.
5. Mark Hinge Locations: Measure the location of hinges on your existing door frame (if applicable) or decide where you would like them to be installed on your new frame. Transfer these measurements to your new slab door.
6. Install Hinges: Using your pencil marks as guides, chisel out recesses for each hinge on the edge of the slab door. Attach hinges using screws provided by the manufacturer.
7. Position The Door In The Frame: Carefully lift and set the door into place within the opening, ensuring that it is flush with both sides of the frame.
8. Shim The Door: Using wooden shims, adjust and secure the gap between the door slab and the frame so that it remains even along all sides. Add shims near the hinge locations to support the weight of the door, ensuring it is plumb.
9. Secure The Door: Drill pilot holes through the frame into the door slab, being cautious not to drill too deep. Secure the door with screws through these holes.
10. Adjust For Proper Swing: Test the swing of your new door to ensure it opens and closes smoothly. Adjust hinges or shimming as needed.
11. Install Hardware: Attach your desired doorknob, lockset, and any additional hardware according to manufacturer instructions.
12. Finishing Touches: Apply paint, stain, or a sealer of your choice to protect and beautify your new slab door if desired.
Congratulations – you’ve successfully hung a slab door! With these 12 steps under your belt, you’re now well-prepared to tackle this DIY project in future home renovations or updates.