How to Flush and Clear Windows DNS Cache

Windows operating system stores the DNS cache, which is responsible for resolving domain names to their corresponding IP addresses. This cache helps in reducing the response time of the websites when you revisit them. However, sometimes the information in the DNS cache can become outdated or corrupted, leading to connectivity issues. In such cases, flushing and clearing the DNS cache can help resolve the problem.
Here are the steps to flush and clear the DNS cache in Windows:
Step 1: Open Command Prompt
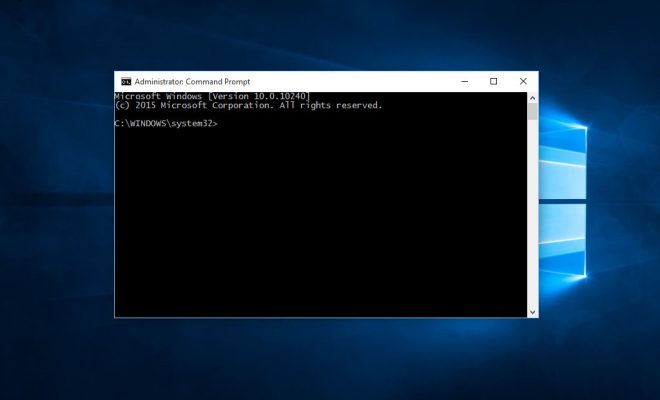
To open the Command Prompt, press the Windows key + R on your keyboard. This will open the Run dialog box. Type “cmd” in the box and press Enter. Alternatively, you can search for “Command Prompt” in the Start menu and click on it.
Step 2: Run Command
In the Command Prompt window, type the following command and press Enter:
1ipconfig /flushdns
This command will flush the DNS resolver cache and clear all the outdated or corrupted entries.
Step 3: Verify the DNS Cache is Cleared
To verify that the DNS cache has been cleared, type the following command and press Enter:
1ipconfig /displaydns
This command will display the DNS resolver cache content. If the cache has been cleared successfully, you will see a message that says “Could not display the DNS Resolver Cache.”
Step 4: Restart DNS Client Service
In some cases, restarting the DNS Client service can help clear the DNS cache. To do this, type the following command and press Enter:
1net stop dnscache
2net start dnscache
This will stop and start the DNS Client service, which will clear the DNS cache and start fresh.
Conclusion
Flushing and clearing the DNS cache can help resolve connectivity issues in Windows. By following these simple steps, you can easily clear the DNS cache and start fresh.


