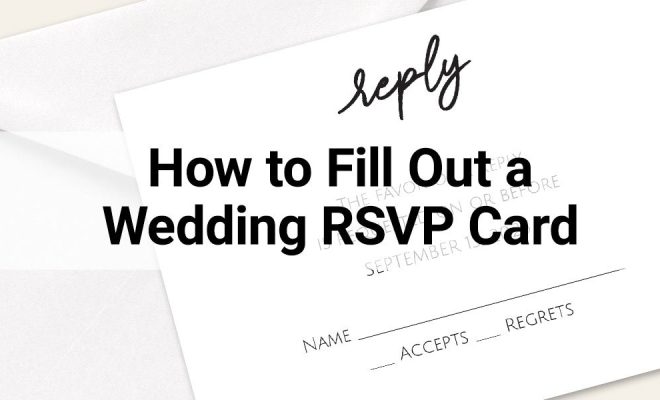
How to Fill Out an RSVP Card: 9 Steps

An RSVP card is an essential part of event planning, as it helps the host determine the number of guests expected to attend. Whether you’re organizing a wedding, a birthday party, or any other event, getting your guests to fill out an RSVP card is crucial to arrange seating, food, and other accommodations. Follow these nine simple steps to ensure you’re filling out an RSVP card accurately and thoughtfully.
1. Check for a deadline: Before you begin, look for a date on the card indicating when your response is required. Make sure to respond promptly to help the event organizer plan effectively.
2. Write your name(s): The name line may be pre-printed with your name or left blank for you to write it in. If you’re allowed to bring a plus-one or additional family members, clearly print their names as well.
3. Accept or decline: Look for options to either accept or decline the invitation. Typically, these will be marked by checkboxes or require a simple “yes” or “no” beside them. Be sure to indicate your response in a clear manner.
4. Choose your meal preferences (if applicable): If the event offers different meal choices, indicate your preference by noting it on the RSVP card, usually in the provided space near each option.
5. Indicate dietary restrictions: Some events ask attendees for dietary restrictions or allergies they may have. Make sure to mention any special requirements on the card so that the hosts can make appropriate arrangements.
6. Note any song requests (for weddings): Wedding receptions often ask guests for song requests as part of filling out an RSVP card. Jot down a song that you’d like the DJ or band to play during the dancing portion of the reception.
7. Remember additional events: For some events like weddings or conferences, there may be multiple related activities happening before or after the main event. If the RSVP card mentions these additional events, indicate whether you’ll be attending them on the card.
8. Double check your information: Before sending in your RSVP card, go over your responses to ensure they’re correct and legible. After all, you don’t want any confusion on the event organizer’s end.
9. Return the RSVP card: Place your completed RSVP card in the provided envelope, making sure the return address is visible. Add a stamp if necessary and mail it promptly before the deadline.
By following these nine steps, you can ensure that filling out an RSVP card is clear and concise, helping event organizers plan a successful gathering for everyone involved.


