How to Display Windows Desktop on a TV Using Chromecast

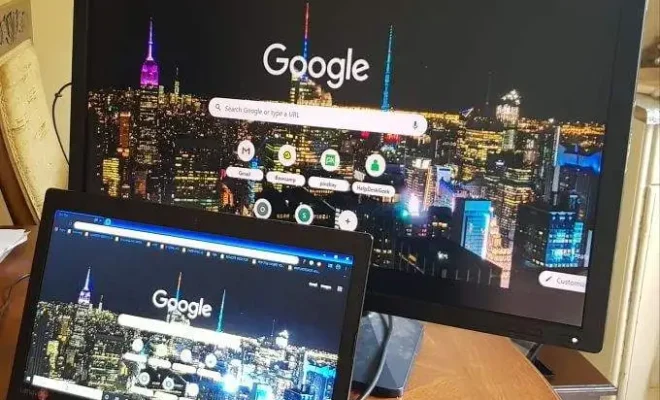
Chromecast is a small device designed to stream multimedia content from a computer, smartphone, or tablet to a television screen. With it, you can easily display your computer’s desktop on your TV. If you’re interested in doing so, here’s a guide on how to display windows desktop on a tv using Chromecast.
Step 1: Set up Chromecast
First, connect Chromecast to your TV using an HDMI cable, and connect the power cord to a power source. Next, connect your computer and Chromecast to the same Wi-Fi network.
Step 2: Install Google Chrome
To use Chromecast, you need to have Google Chrome installed on your computer. If you don’t have it, you can download it from the official Google Chrome website.
Step 3: Cast the desktop
To cast your desktop, open Google Chrome and click on the three dots in the top right corner. Then, click on the “Cast” option. This will bring up a list of available devices to cast to. Select your Chromecast device from the list.
Step 4: Confirm casting
After selecting your Chromecast, click on “Sources” and then choose “Cast desktop.” You will see a message pop up asking if you want to share your audio with the TV screen. Click on “Share audio,” and your desktop will be displayed on the TV.
Step 5: Adjust settings
Once you have started casting, you can adjust the display settings to optimize the viewing experience. You can change the resolution, adjust the scaling, and turn on full-screen mode for a better display.
Step 6: Stop casting
When you’re ready to stop casting, click on the three dots in the top right corner of Google Chrome and select “Stop casting.”
Conclusion
Chromecast is a great tool for displaying your computer’s desktop on your TV screen. With a few simple steps, you can enjoy your favorite content on the big screen. Follow this guide to display your windows desktop on a TV using Chromecast. Happy casting!


