How to Create the Best 3D Printing Time-Lapse Videos With Octolapse

3D printing is a fascinating technology that has revolutionized the way we conceptualize and produce products. One exciting aspect of 3D printing is time-lapse videos, which show the entire printing process from start to finish in just a few minutes. These videos are captivating and provide a behind-the-scenes glimpse into the 3D printing world.
Octolapse is a plugin for OctoPrint that can be used to create stunning 3D printing time-lapse videos. In this article, we will discuss how you can create the best 3D printing time-lapse videos using Octolapse.
1. Install OctoPrint and Octolapse
To create time-lapse videos with Octolapse, you will need to install OctoPrint and Octolapse on your computer. OctoPrint is an open-source software that allows you to control and monitor your 3D printer from a web interface. Octolapse is a plugin for OctoPrint that creates time-lapse videos of your 3D printing process.
2. Configure Octolapse
Once you have installed OctoPrint and Octolapse, you will need to configure Octolapse to create time-lapse videos. You can access the Octolapse settings by clicking on the Octolapse tab in the OctoPrint web interface.
In the settings, you can customize the time-lapse video settings, such as the frame rate, resolution, and image quality. You can also specify which camera to use and adjust the camera settings, such as focus, exposure, and white balance.
3. Set Up Your Camera
For Octolapse to create time-lapse videos, you will need to connect a camera to your 3D printer and specify it in the Octolapse settings. You can use any camera that your computer recognizes, such as a webcam or a DSLR camera.
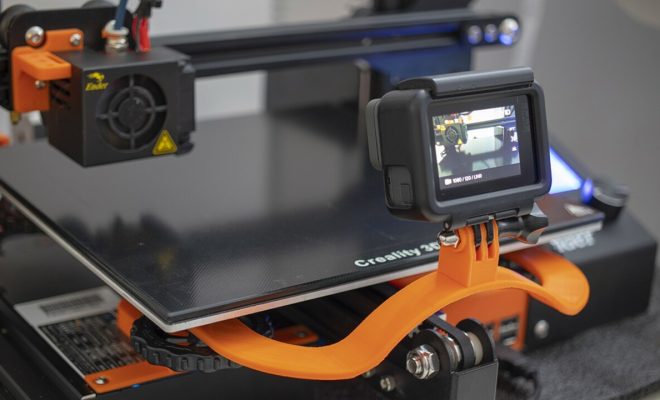
It’s important to position the camera in a way that captures the entire printing process from the best angle. You can mount the camera on a tripod or use a fixture to attach it to the printer. You can also experiment with different camera angles and positions to find the best one for your video.
4. Start Printing and Recording
Once you have configured Octolapse and set up your camera, you can start printing and recording your time-lapse video. Octolapse will automatically take a series of photos at specified intervals and stitch them together into a video. You can view the video in the Octolapse tab in the OctoPrint web interface or download it to your computer.
To get the best quality time-lapse video, it’s essential to have good lighting and a stable printing environment. Make sure there are no vibrations or movements around the printer, and use ambient lighting to create an even and consistent exposure.
In conclusion, Octolapse is an excellent tool for creating high-quality 3D printing time-lapse videos. With a few simple steps, you can set up Octolapse, connect a camera, and start recording your printing process. By configuring the settings and adjusting the camera position, you can create compelling and visually stunning time-lapse videos that showcase the 3D printing process like never before.


