How to Create an Emergency Mac OS Boot Device Using a USB Flash Drive
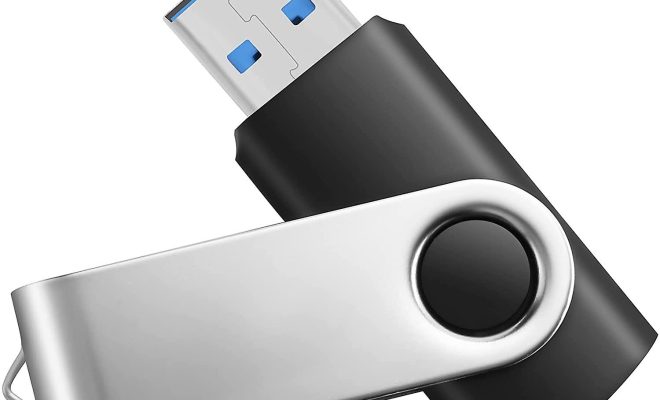
In the world of technology, unexpected issues can arise at any moment. One of the most common issues faced by Mac users is unresponsive or malfunctioning operating systems. In such situations, a bootable emergency Mac OS USB flash drive can come in handy. Having one ready ensures that you can access your computer’s files and documents, carry out repair and troubleshooting tasks, and even reinstall the OS if necessary.
In this article, we’ll walk you through the steps for creating a bootable emergency Mac OS USB flash drive.
Step 1: Choose the Right USB Flash Drive
Before creating a bootable emergency Mac OS USB flash drive, you need to choose the right USB drive. Ideally, go for a USB drive with at least an 8GB storage capacity. Ensure that the drive is formatted correctly.
Step 2: Download the Necessary Files
The next step is to download the necessary files to create the bootable emergency Mac OS USB flash drive. First, download the macOS installer application from the App Store. Once you’ve downloaded the installer, select the USB flash drive as the installation destination. This will create an installer on the flash drive, which you can then use to install the OS on other Macs.
Step 3: Create the Bootable USB Flash Drive
Now that you’ve downloaded the installer application, the next step is to create the bootable USB flash drive. Here’s how:
– Connect the USB drive to your Mac.
– Open the Terminal application located in the Utilities folder within the Applications folder.
– In the Terminal window, enter the following command:
sudo /Applications/Install\ macOS\ Sierra.app/Contents/Resources/createinstallmedia –volume /Volumes/MyVolume –applicationpath /Applications/Install\ macOS\ Sierra.app
Note: Replace “Install\ macOS\ Sierra” with the name of the installer application if it’s a different version.
– Hit Enter and then authenticate the command request using your administrator password. This will create a macOS bootable USB flash drive in a few minutes.
Step 4: Check the Bootable USB Flash Drive
After the bootable macOS USB flash drive has been created, you should confirm that it’s fully functional. You can do this by restarting your Mac and holding down the Option key as it restarts. You’ll see the boot options, including the newly created bootable USB flash drive. Select it to confirm that your Mac is now bootable from the USB flash drive.
Conclusion
Creating a bootable emergency Mac OS USB flash drive is a straightforward process that only involves downloading the necessary files and entering a command in the Terminal Window. With this USB flash drive, you can easily troubleshoot and repair unresponsive or malfunctioning operating systems, ensuring that your computer is always running in optimal condition.

