How to Convert WEBP to JPG

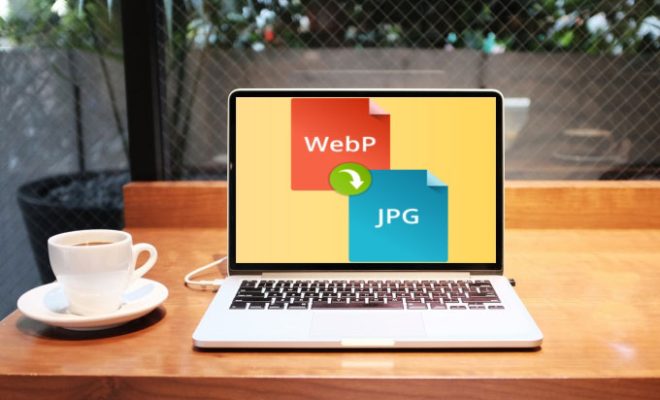
WEBP is a relatively new image format that was introduced by Google in 2010. It is designed to provide faster loading times and smaller file sizes for images that are comparable in quality to other image formats such as JPEG and PNG. However, not all devices and software support this format yet, so it may be necessary to convert WEBP images to more widely supported formats such as JPEG. In this article, we will guide you through the process of converting WEBP to JPG.
Method 1: Using Online Conversion Tools
One of the easiest ways to convert a WEBP image to JPG is by using online conversion tools. These are websites that allow you to upload your WEBP image and convert it to a JPG image. Here are the steps to follow:
Step 1: Go to an online conversion tool such as Convertio, Online-Convert or FreeConvert.
Step 2: Upload the WEBP image that you want to convert. You can either drag and drop the file or click on the “Choose Files” button and select the file from your computer.
Step 3: Choose the output format as JPG. Some tools may also allow you to choose the quality of the output image.
Step 4: Click on the “Convert” button to start the conversion process. The tool will convert your WEBP image to JPG and provide you with a download link for the converted image.
Step 5: Click on the download link to save the JPG image to your computer.
Method 2: Using Image Editing Software
If you have image editing software like Adobe Photoshop or GIMP installed on your computer, you can use these programs to convert WEBP to JPG. Here are the steps to follow using Adobe Photoshop:
Step 1: Launch Adobe Photoshop and open the WEBP image that you want to convert.
Step 2: Go to the “File” menu and choose “Save As”.
Step 3: In the “Save As” dialog box, choose JPEG as the file format.
Step 4: Adjust the quality settings if necessary.
Step 5: Click on the “Save” button to save the JPG image to your computer.
If you’re using GIMP, the steps are similar, but with slight differences. Here they are:
Step 1: Launch GIMP and open the WEBP image that you want to convert.
Step 2: Go to the “File” menu and choose “Export As”.
Step 3: In the “Export Image” dialog box, choose JPEG as the file format.
Step 4: Adjust the quality settings if necessary.
Step 5: Click on the “Export” button to save the JPG image to your computer.
Conclusion
There you have it. Those are two pretty simple ways to convert WEBP to JPG. The method you choose depends on your preferences, but both are equally efficient. So, whether you prefer an online conversion tool or have image editing software installed on your computer, you’ll be able to quickly and easily convert WEBP images to a more widely supported format.


