How to Connect Two Home Computers Through a Network

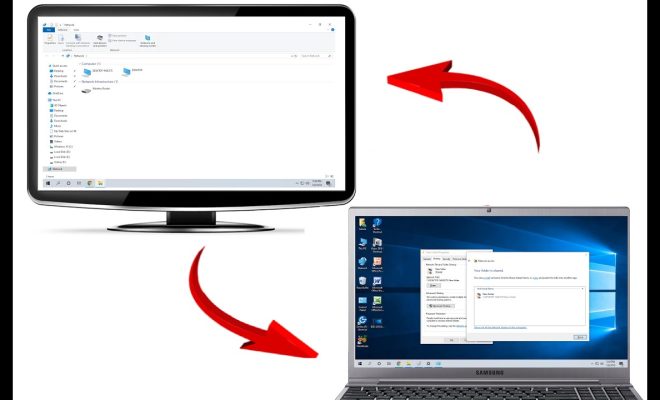
As more and more households have multiple computers, you may find it helpful to connect them together in a network so that they can share files, printers, or an Internet connection. Connecting two home computers through a network sounds daunting, but it can be a simple task with some basic knowledge and the right tools. Here are some steps to help you connect your home computers through a network:
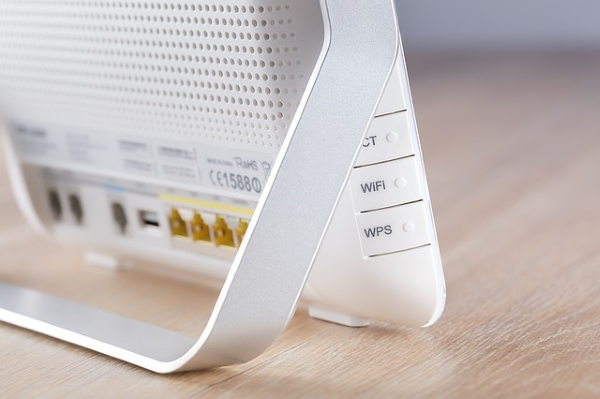
1. Gather Required Equipment – For connecting two computers, you will need two Ethernet cables, a router or switch, and network adapters (if not built into the computer). You can buy these items from any electronics store or online shopping websites.
2. Set a network name – Before connecting the devices, it’s important to set a unique name for your network that identifies it from others in the area. This is called a Workgroup name. To set this up, go to the Control Panel on each computer (Windows), select System and Security followed by System. Click on Change settings and under the Computer name, domain, and workgroup settings section, select Change.
3. Connect the Computers – Connect the Ethernet cables to the Ethernet port on each computer. The second end of each cable should be plugged into an open router or switch’s Ethernet port. The router acts as a central connector, allowing each computer to interact with each other.
4. Check your Computer’s IP Addresses – Each computer must have a unique IP address within the same network. To check the computer’s IP address, go to ‘Network and Sharing Centre’ in Windows and click on ‘Change Adapter Settings.’ Right-click on the Ethernet connection and select ‘Properties’. Select ‘Internet Protocol Version 4’ and click on properties again. Ensure that the ‘Obtain an IP address automatically’ and ‘Obtain DNS server address automatically’ radio buttons are selected.
5. Share Files and Folders – To access files and folders stored on one computer with the other computer, enable file sharing on each computer. You can do this by going to Control Panel > Network and Sharing > Change Advanced Sharing Settings > Turn on file and printer sharing > Save Changes.
6. Ensure Firewall is configured correctly – To prevent unauthorized access to shared folders or printers, Windows default firewall should be switched on. To do this, go to Control Panel > System and Security > Windows Firewall > Turn Windows Firewall on or off. From the screen, select ‘Turn on Windows Firewall’ and select your network type.
7. Enjoy your Network – Your computers are now connected, and files and printers can now be shared between each other. You may also use your network to share your internet connection by connecting your router’s Internet port to an ISP provided modem.
In conclusion, connecting two home computers through a network can seem challenging, but it’s just a few simple steps. By following these instructions and using the right equipment, you can easily connect your home computers and communicate between them seamlessly. Once set up, you can share files, printers, and an internet connection with ease.


