How to Cancel Your YouTube Music Subscription
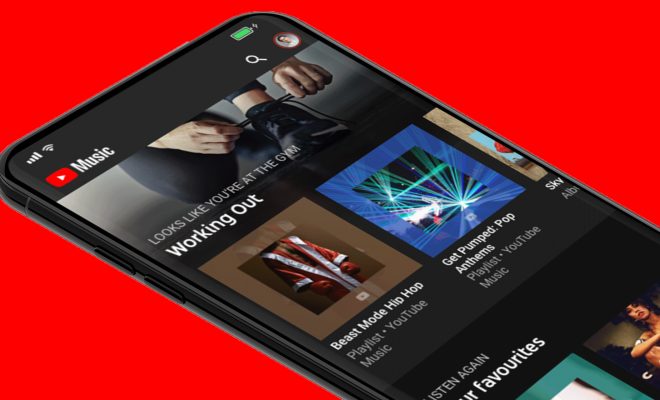
YouTube Music is an amazing platform that lets you enjoy your favorite music, but if you have decided to call it quits, you may be interested in learning how to cancel your subscription. Cancelling your YouTube Music subscription is a quick and simple process. Below is a step-by-step guide on how to get the job done.
Step 1: Open YouTube Music
Open YouTube Music on your smartphone or computer.
Step 2: Navigate to Settings
On the home screen, navigate to the “Library” section by tapping on the three lines in the top left corner and select “Settings” at the bottom of the menu.
Step 3: Tap on “Paid Memberships”
Under the “Settings” menu, you will find the “Paid memberships” option. This option is in the middle of the list. Tap on it.
Step 4: Tap on “Manage”
When you land on the “Paid Memberships” page, tap on the “Manage” button located just next to your “YouTube Music Premium” subscription.
Step 5. Tap on “Cancel Membership”
Tap on the “Cancel Membership” button located at the bottom of the page.
Step 6: Select “Yes, Cancel”
When prompted, select “Yes, Cancel.”
Step 7: Confirm Cancellation
On the next window, confirm your cancellation by tapping on “Yes, Cancel”. That’s it! Your YouTube Music subscription has been cancelled.
Note: You will still have access to the YouTube Premium benefits, such as ad-free videos, original content, and background play, until the end of the billing cycle.
Conclusion
YouTube Music subscription cancellation is an easy and straightforward process. Start by opening the app or website, navigating to the settings, selecting “Paid Memberships,” and then “Manage” your subscription. Tap on the “Cancel Membership” button and confirm your cancellation. In a few steps, you will have achieved what you intended. Cancelling your subscription will not delete your account information. You can still use YouTube Music as a free service with ads.

