How to Anodize Aluminum
Anodizing is a popular method for enhancing the durability and visual appeal of aluminum objects. This electrochemical process forms an oxide layer on the surface of aluminum, making it resistant to corrosion and abrasion. The anodized layer can also be dyed to create a range of vibrant colors. In this article, we will guide you through the process of anodizing aluminum at home or in your workshop.
Materials and Equipment:
1. Aluminum piece (preferably 6061 or 7075 alloy)
2. Sulfuric acid (15% solution) – available at some hardware stores
3. Battery charger, rectifier, or power supply capable of producing 12-24V DC
4. Aluminum or titanium wire for cathode and anode connections
5. Plastic container – large enough to hold the aluminum piece and sulfuric acid solution
6. Deionized water for rinsing
7. Dye (optional) – special dyes designed for anodizing are available online
8. Sealer (optional) – available online or at specialty stores
Safety Precautions:
1. Wear proper safety gear, including gloves, goggles, and a face mask.
2. Anodizing should be performed in a well-ventilated area, preferably outdoors.
3. When handling acids and chemicals, follow manufacturer’s safety guidelines.
Step-by-Step Process:
1. Prepare your aluminum piece by thoroughly cleaning it to remove any dirt, grease, or contaminants that could affect the anodizing process. You can use regular dish soap diluted in water for this.
2. Mix the sulfuric acid solution at a ratio of 1 part acid to 4 parts water in the plastic container to achieve a 15% concentration.
3. Connect your aluminum piece to the positive (+) terminal of your power supply using the aluminum or titanium wire. This setup makes your item the anode. Suspend the piece into the container so that it is entirely submerged in the acid solution but not touching the container’s bottom or sides.
4. Attach another piece of aluminum or titanium wire to the negative (-) terminal of your power supply. Submerge the other end (cathode) into the solution, ensuring it does not touch the aluminum piece.
5. Turn on your power supply and adjust it to approximately 12-24 volts DC, depending on your aluminum alloy and desired finish. The general rule is to apply 12 volts for 6061 alloys and 24 volts for 7075 alloys.
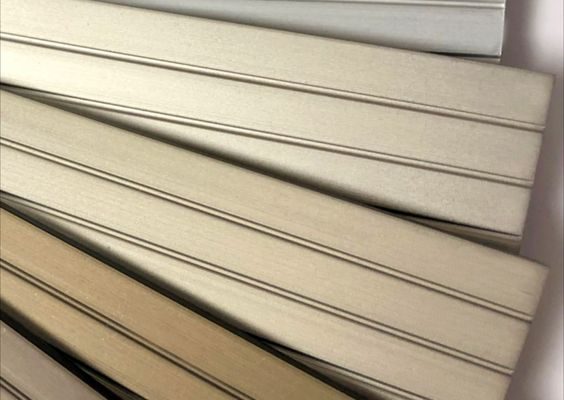
6. Let the aluminum piece anodize for about 1 hour or until you achieve your desired oxide layer thickness. You can determine this by observing any visible changes to its surface, like dulling or color shifts.
7. Once completed, carefully turn off the power supply and remove your aluminum piece from the acid solution. Rinse it well with deionized water.
8. If you want to dye your object, now is the time: completely submerge it in a container filled with dye for around 15 minutes or until you achieve your desired color intensity.
9. To seal and protect your anodized surface, immerse your piece in a sealer liquid for about 30 minutes.
10. Finally, rinse your dyed and sealed object thoroughly with deionized water before air drying it.
Your anodized aluminum is now ready for use! With proper care, it should maintain its improved durability and appearance for years to come. Remember that practice makes perfect, so don’t be discouraged if your first few attempts don’t produce flawless results; refining your technique takes time and experience.