How to Add an Image to Your Gmail Signature

Adding an image or logo to your Gmail signature can help you personalize your emails and make them look more professional. With Gmail’s simple interface, adding an image to your signature is quick and easy. Here’s how to do it:
1. First, sign in to your Gmail account.
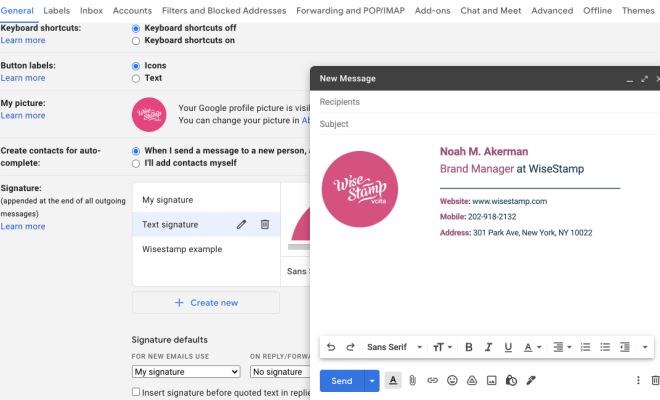
2. Click on the gear icon in the top right-hand corner of the screen and select “Settings” from the drop-down menu.
3. Scroll down to the “Signature” section and click on the “Create new” button to create a new signature.
4. In the text box, type out your signature text including any links, phone numbers or other information you want to include.
5. To add an image to your signature, click on the “Insert image” icon in the formatting toolbar. It looks like a mountain and sun icon.
6. A pop-up window will appear, prompting you to upload an image from your computer or from Google Drive. Click on the appropriate option and select the image you wish to use.
7. Once you’ve inserted your image, resize it by clicking on one of the blue dots and dragging it to the desired size.
8. Set the image to the proper alignment by clicking on it and selecting the “Align right” or “Align left” option from the formatting toolbar.
9. Save your changes by scrolling down and clicking on the “Save changes” button at the bottom of the page.
10. Your image should now appear in your signature when you compose a new email. If you want to make any
further changes to your signature, simply return to the settings page and edit your signature as needed.
Adding an image to your Gmail signature is a great way to give your emails a professional touch. By following these simple steps, you can easily customize your signature to suit your needs and make a great impression on every email you send.


