Centering the Contents of a Layer in a Photoshop Document

Centering the contents of a layer in a Photoshop document is a simple and useful technique that can help you create more professional-looking designs. It allows you to position the contents of a layer in the exact center of your document, making it easier to create symmetrical designs and layouts. In this article, we will explore how to center the contents of a layer in a Photoshop document.
Step 1: Select the Layer
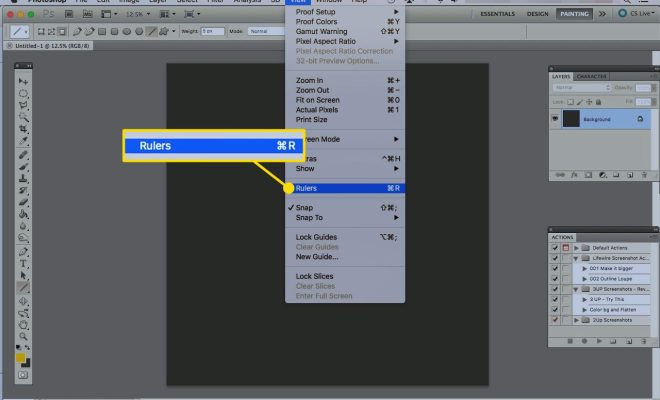
The first step in centering the contents of a layer is to select the layer that you want to center. You can do this by clicking on the layer in the Layers panel on the right-hand side of the Photoshop interface.
Step 2: Open the Align Panel
Next, you need to open the Align panel. You can find this panel by going to the Window menu at the top of the interface and selecting “Align”. This will open the Align panel, which you can use to align your layer with other layers or with the document itself.
Step 3: Use the Align Panel to Center the Layer
With the layer selected and the Align panel open, you can now center the contents of the layer. To do this, click on the “Align Horizontal Centers” button in the Align panel. This will align the layer horizontally with the center of the document.
If you also want to center the layer vertically, click on the “Align Vertical Centers” button in the Align panel. This will align the layer vertically with the center of the document.
Step 4: Check the Position of the Layer
Once you have centered the contents of the layer, you should check the position of the layer to make sure it is centered correctly. You can do this by using the Move tool to move the layer around the document and see if it is positioned in the center.
Conclusion
Centering the contents of a layer in a Photoshop document is a simple and useful technique that can help you create more professional-looking designs. By following these steps, you can easily center the contents of a layer and ensure that your designs are symmetrical and well-aligned.


