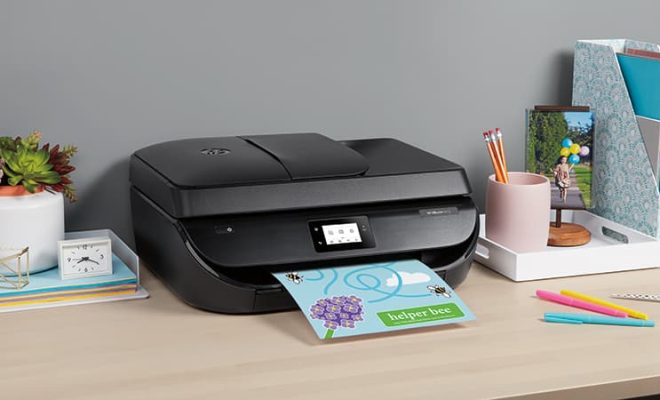
How to Set a Default Printer in Windows 10

Setting a default printer can be a crucial task for Windows 10 users. When you have multiple printers connected to your device, it may become tedious to select a printer every time you need to print documents. However, using the default printer feature in Windows 10 can simplify the process, and make printing more comfortable.
So, if you’re looking for a step-by-step guide on how to set a default printer in Windows 10, we’ve got you covered!
Here’s how to set a default printer in Windows 10:
Step 1:
Click on the Windows icon in the bottom left corner of your screen, and then click on “Settings.”
Step 2:
In the Windows Settings menu, click on “Devices.”
Step 3:
In the Devices menu, click on “Printers and scanners.”
Step 4:
You will see a list of all connected printers on the right side of the screen. Locate the printer that you want to set as the default printer, and then click on it.
Step 5:
Once you’ve selected the printer, click on the “Manage” button.
Step 6:
In the Manage your device window, click on “Set as default.”
Step 7:
A confirmation window will appear, asking if you want to set the selected printer as your default printer. Click on “Yes.”
Congratulations! You have now successfully set your default printer in Windows 10. From now on, every time you try to print a document, Windows will automatically select the default printer as the printing device.
Alternatively, you can also set your default printer by right-clicking on the printer that you want to set as default in the Printers and scanners menu (Step 3 above), and then selecting the option “Set as default printer.”
In conclusion, setting a default printer in Windows 10 can save you significant time and energy whenever you need to print documents. Follow these simple steps, and you’ll be able to set your default printer in no time!


