
How to Resize a Window
Step 1: Locate the Window’s Borders
Begin by locating the borders of the window you wish to resize. These are typically found along the edges of the window, separating its contents from the background or surrounding user interface.
Step 2: Position the Cursor
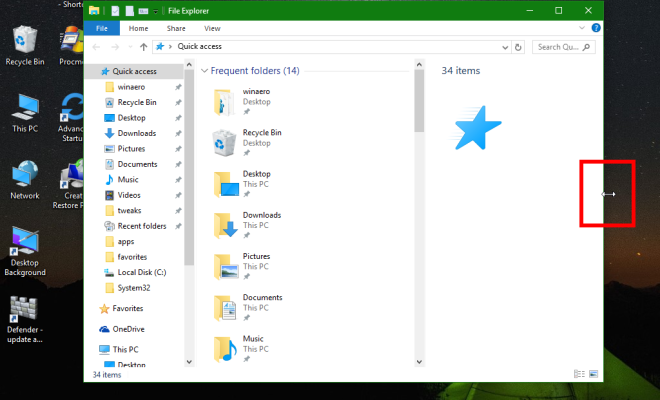
Place your cursor at the edge or corner of the window. The point where you choose to click depends on which direction you want to resize the window. Look for an arrow cursor that indicates that you can resize in a specific direction. For example, if you want to adjust the width of the window, place your cursor on either its left or right border.
Step 3: Click and Hold
Once your cursor changes to an arrow pointing in the direction you want to resize, click and hold down your mouse button or trackpad.
Step 4: Drag to Resize
While holding down your mouse button or trackpad, drag your cursor in the desired direction. The window should expand or contract according to your movements. If you have placed your cursor on a corner, you will be able to resize the window both horizontally and vertically simultaneously.
Step 5: Adjust to Desired Size
Continue dragging until you reach the desired size of the window. You can make it as big or as small as needed for your requirements.
Step 6: Release Mouse Button or Trackpad
Once you have resized your window to your satisfaction, release your mouse button or trackpad. The new dimensions of your window will remain in place, allowing you to view its contents more comfortably and efficiently.
In conclusion, resizing windows is a simple process that can enhance both productivity and usability. With these six easy steps, anyone can resize a window and organize their workspace effectively.


