How to Make a Spider-Man Mask: 14 Steps
Spider-Man is a beloved superhero with fans of all ages. If you’re looking for a fun and creative DIY project, making a Spider-Man mask is the perfect choice. Follow these 14 steps to create your very own Spidey mask!
1. Gather your materials: You will need a red ski mask or balaclava, black fabric paint, two pieces of white mesh fabric, scissors, glue or needle and thread, a pencil or marker, and a printed Spider-Man face symbol and web pattern (you can find these online).
2. Put the mask on to determine the position for eyes: Wear the red ski mask and determine the correct position for your eyes. Mark this area carefully on either side using a pencil or marker.
3. Cut out the eye holes: Using scissors, carefully cut out the eye holes where you marked them on the ski mask.
4. Shape the eyes: To give your Spider-Man mask the distinctive shape of his eyes, trim any excess fabric around the eye holes and form the desired shape.
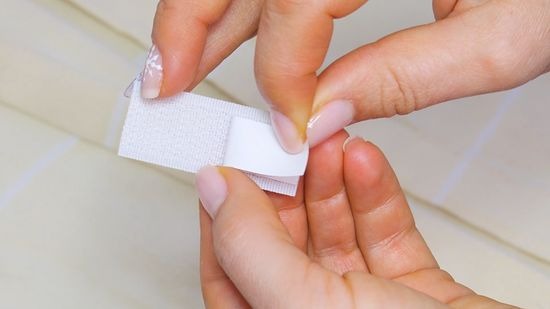
5. Attach white mesh fabric to cover eye holes: Glue or sew two pieces of white mesh fabric onto the inner side of each eye hole. This will create a more authentic look and allow you to see while keeping your identity hidden.
6. Print out the Spider-Man symbol: Find an image of Spider-Man’s signature face symbol and print it out onto paper. Cut it out carefully using scissors.
7. Attach Spider-Man symbol to forehead area: Glue or sew the printed face symbol onto the center of your forehead on the mask.
8. Print out web pattern: Search online for an image of Spider-Man’s web pattern so you can replicate it on your mask accurately.
9. Trace web design onto mask: Place the printed web pattern overtop your red mask (it helps if you tape it in place) and use a pencil or marker to trace the lines.
10. Apply black fabric paint on traced lines: Fill in the traced web pattern lines using black fabric paint. Carefully apply a small amount of paint with a paintbrush or squeeze applicator, taking your time to ensure precision.
11. Extend web design over entire mask: Continue painting the intricate web design over the entire surface of the mask, making sure to cover both the top and sides; patience is key here.
12. Allow paint to dry: It’s essential that you wait for the paint to dry thoroughly before handling or wearing your Spider-Man mask. This may take a few hours, so plan accordingly.
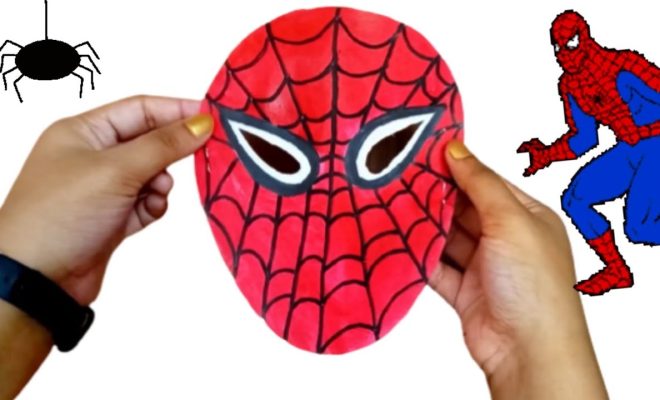
13. Put on your Spider-Man mask: Once everything is dry, carefully put on your new Spidey mask and make any last-minute adjustments to the fit or appearance as necessary.
14. Save the day in style: Now that you have an awesome, homemade Spider-Man mask, it’s time to sling some webs and show off your Peter Parker or Miles Morales persona!
There you have it – 14 straightforward steps to creating your own Spider-Man mask. Not only is this project fun for all ages, but it also allows for a personalized touch when paying homage to everyone’s friendly neighborhood Spider-Man!