How to Make a Mini Iceberg: 10 Steps
Creating a mini iceberg can be a fun and educational project for both children and adults. It provides a great opportunity to learn about the fascinating properties of water, ice, and temperature. Here are 10 simple steps to create your very own mini iceberg.
1. Choose the container: Select a suitable clear plastic or glass container, such as a bowl or a small aquarium, which is large enough to accommodate the mini iceberg and hold water.
2. Clean the container: Thoroughly wash and rinse the container to remove any dirt, residue, or chemicals that may affect the quality of your mini iceberg.
3. Fill with water: Carefully fill your container with cold tap water, leaving some space at the top for the water to expand when it freezes.
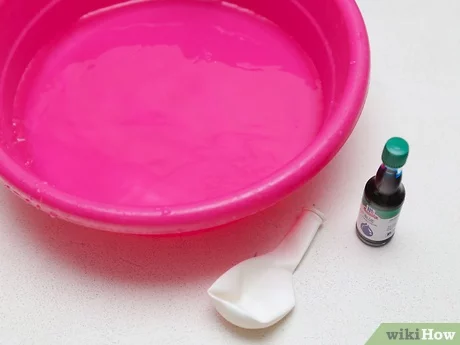
4. Optional additives: If you want to make your mini iceberg even more realistic, you can add some small objects such as pebbles or twigs to represent sediment trapped in the ice.
5. Chill it down: Prepare your freezer by ensuring there is enough space for the container. Slowly place the container in the freezer, taking care not to spill any water.
6. Freeze in stages: To create distinct layers within your mini iceberg, you can freeze it in stages. After a few hours, when the surface of the water has frozen but not fully solidified, gently break up that layer with a fork and mix it into the liquid below before returning it to the freezer and waiting for another layer to form.
7. Monitor progress: Keep an eye on your mini iceberg’s development by checking on it every couple of hours. The freezing process should take between 12-24 hours in total, depending on the size of your container and temperature of your freezer.
8. Remove from freezer: Once your mini iceberg is completely frozen, take it out of the freezer and allow it to sit at room temperature for a minute or two. This will make it easier to remove from the container.
9. Unfreeze the container: To remove the mini iceberg without breaking it or damaging the container, run warm water over the outside of the container, taking care not to get any inside. As temperatures change, your mini iceberg should separate from the container walls.
10. Display your masterpiece: Carefully remove your mini iceberg from its container and place it in a larger basin or tub filled with cold water. Observe how it floats and slowly melts, just like a real iceberg.
Now that you have created your very own mini iceberg, take some time to appreciate its beauty and observe how it reacts with its surroundings. This project is not only entertaining but also informative in understanding the behavior of icebergs in nature. Happy experimenting!