How to Fingerpaint: 10 Steps
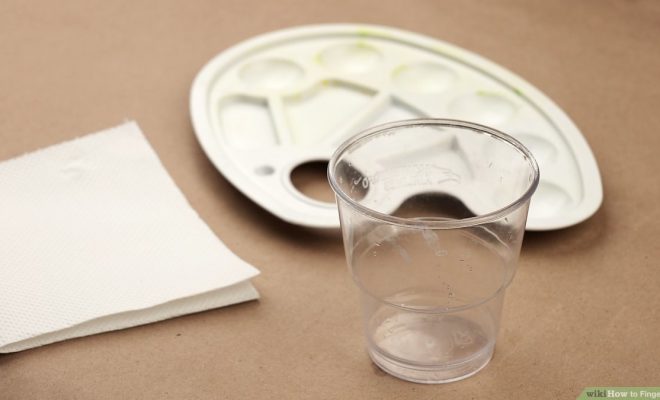
1. Choose your supplies: To begin fingerpainting, you’ll need a few essentials such as water-based, non-toxic finger paints, a painting surface like large sheets of white paper or a canvas, and a flat, easy-to-clean work area.
2. Set up your workspace: Make sure your workspace is clean, spacious, and well-ventilated. Lay down newspapers or plastic to protect the surface from paint, and keep some water nearby to rinse your hands between colors.
3. Get dressed for the occasion: Wear old clothing or an apron that can get messy without any concerns. Don’t forget to roll up your sleeves!
4. Choose your colors: Select a variety of vibrant finger paint colors and pour them into individual containers or small saucers for easy access.
5. Begin with a base layer: Spread a thin layer of paint onto the paper or canvas using your fingers or palms. You can cover the entire surface or just a portion depending on what design you have in mind.
6. Experiment with different techniques: There’s no right or wrong way to fingerpaint, so let your imagination run wild. Try using different parts of your fingers – tips for fine lines, knuckles for bolder strokes – and explore various motions like swirling, dabbing, and dragging.
7. Layer and blend colors: Apply additional layers of paint on top of the base layer to create depth and dimension in your artwork. Be bold with contrasting colors or blend similar hues together for more subtle transitions.
8. Add details and patterns: Use your fingertips to create intricate designs like swirls, dots, lines, and zigzags. You can also use tools like sponges or cotton swabs for added texture.
9. Take breaks if needed: If you find that the paint is getting too muddy due to constant layering and blending, pause for a moment and allow the paint to dry slightly before continuing. This will help you achieve cleaner lines and a more defined composition.
10. Let your artwork dry: Once you’re satisfied with your finger-painted masterpiece, leave it to dry completely before displaying or storing it. Finger paint may take longer to dry than traditional brush paints, so be patient and enjoy the process.
Fingerpainting is a fun and expressive way to create art that’s perfect for people of all ages and skill levels. With these 10 simple steps, you’ll be on your way towards a unique masterpiece in no time. Happy painting!