3 Simple Ways to Tie Invitations Together
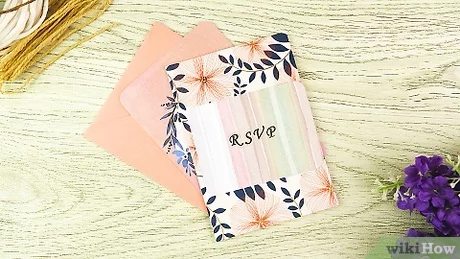
Invitations are the gateway to your event, giving your guests a sneak peek at the celebration to come. They set the tone, theme, and pique the curiosity of your invitees. One creative way to make invitations stand out is by tying them together using various methods. Here are three simple, but charming ways to tie your invitations together, making them even more impressive and memorable.
1. Satin Ribbon Bow
A satin ribbon bow is a classic and elegant way to secure your invitations. Choose a ribbon color that complements your invitation design, or use your event’s primary color for consistency.
To create a satin ribbon bow, follow these simple steps:
a. Cut a piece of ribbon about 15-20 inches long (depending on the size of your invitation).
b. Place the invitation face down on a flat surface.
c. Center the ribbon over the middle of the invitation, with equal amounts of loose ribbon on each side.
d. Cross both ends underneath the invitation and bring them up to the front, making sure they’re still in the center.
e. Tie a tight knot in front of the invitation and then create a beautiful bow with equal-sized loops.
f. If desired, trim any excess ribbon length diagonally for a clean finish.
2. Twine Knot or Bow
For a rustic or vintage-themed event, twine can be an ideal choice to tie your invitations together. Twine is inexpensive and can easily be found at most craft stores.
To use twine for your invitations:
a. Cut an appropriate length of twine based on your invitation size (approximately 15-20 inches).
b. Center the twine over the middle of your invitation face down on a flat surface.
c. Cross both ends under the invitation and bring them up to the front.
d. Twist both ends together before either tying off with a tight knot or creating a charming bow.
e. Snip any extra twine to your desired length.
3. Wax Seal
Add a touch of sophistication and old-world charm to your invitations with a wax seal. This method entails melting wax (available in various colors) onto your invitation and using a stamp to create an elegant design.
To make a wax seal:
a. Purchase wax pellets or sticks specially designed for sealing along with a metal seal stamp that bears your chosen design.
b. Insert the wax pellets or stick into a melting spoon, then light a candle underneath to melt the wax.
c. Carefully pour the melted wax onto the fold of your invitation where you want the seal to be placed.
d. Quickly press the metal seal stamp onto the pooled wax, applying even pressure.
e. Allow the wax to cool for a few seconds before carefully removing the stamp, revealing your beautiful seal.
Remember, presentation is key when it comes to setting the stage for your event. By using satin ribbon, twine, or a wax seal to tie your invitations together, you’ll leave a lasting impression on your guests as they eagerly anticipate your special celebration.