How to Install Sims 2 Mods
Introduction
The Sims 2, developed by Maxis and published by Electronic Arts, has been a powerhouse in the simulation genre since its release in 2004. One of the reasons for its enduring popularity is the extensive modding community that breathes new life into the game through countless modifications, enhancements, and custom content. In this article, we’ll cover everything you need to know about installing mods for The Sims 2.
Step 1: Create a Downloads Folder
Before you start adding mods to your game, you’ll want to create a Downloads folder within your Sims 2 directory. This is where you’ll store all your custom content and mods. To do this, follow these steps:
1. Navigate to your The Sims 2 directory. By default, this should be located at “C:\Program Files\EA GAMES\The Sims 2” for Windows and “/Applications/TheSims 2/” for macOS.
2. Within your Sims 2 folder, create a new folder called “Downloads.”
Step 2: Locate Mods and Custom Content
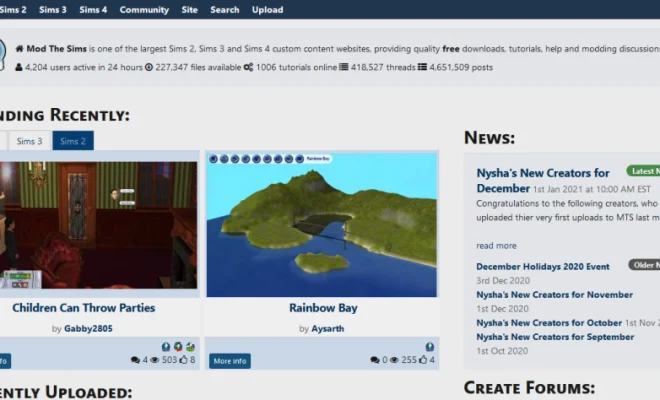
There is an overwhelming amount of custom content available online, so it’s important to find reputable sources for mods. Here are some popular websites where you can get started:
– ModTheSims (http://modthesims.info/)
– The Sims Resource (https://www.thesimsresource.com/)
When browsing through mods, pay attention to any specific requirements or known issues that may come with the mod.
Step 3: Download and Extract Mod Files
Once you’ve found a mod you like, download it to your computer. Most mods will be compressed in archive formats such as .zip or .rar files. You’ll need to extract these files using a program like WinRAR (for Windows) or The Unarchiver (for macOS).
1. Locate the downloaded mod file on your computer.
2. Right-click the file and choose “Extract Here” (Windows) or double-click the file to extract it (macOS).
Step 4: Move Mods to the Downloads Folder
After you’ve extracted the mod files, you’ll need to move them into your Downloads folder within The Sims 2 directory. Generally, mod files will be in the following formats:
– .package
– .sims2pac
Navigate to where your extracted mod files are located, cut or copy the files (.package and/or .sims2pack), then paste them into your newly created Downloads folder in The Sims 2 directory.
Step 5: Install .sims2pack Files
While .package files will work automatically once placed in the Downloads folder, .sims2pack files require an additional step for installation. To install these types of mods:
1. Double-click on the .sims2pack file.
2. The Sims 2 Package Installer will open. Click “Install” to add the content to your game.
Step 6: Launch The Sims 2 and Enable Custom Content
Now that your mods are in place, it’s time to launch The Sims 2:
1. Start your game and wait for it to load.
2. At the main menu, click on “Options.”
3. Under “Settings,” ensure that “Enable Custom Content” is checked.
4. Apply any modifications as needed and click “Accept.”
Conclusion
That’s all there is to installing mods for The Sims 2! With this knowledge, you can now transform your game experience by adding new custom content and modifications from the ever-growing community of creators. Remember always to make backup copies of your saves before adding new mods if you want to avoid potential compatibility issues or unwanted changes to your game.