How to Schedule a Post on Facebook
Introduction
Social media management can be time-consuming, and scheduling content ahead of time can save business owners, marketers, or social media enthusiasts a lot of time and effort. In this article, we will walk you through a step-by-step guide on how to schedule a post on Facebook to ensure that your content is posted at the right time and reaches the maximum potential audience.
Step 1: Log into your Facebook account
First and foremost, log into your Facebook account. Make sure you have access to the page or profile where you want to schedule the post.
Step 2: Go to your Facebook Page
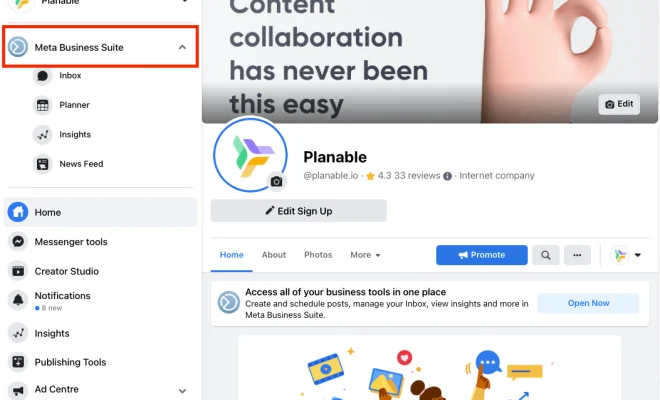
Navigate to the Facebook Page where you’d like to schedule your post. Click on “Page” located in the left sidebar menu. If you don’t see it there, click on “See More” to find it within the expanded menu. Once you have clicked on the page, you will be taken to the main page dashboard.
Step 3: Create a new post
On your Page dashboard, look for the section where you would usually create a new post. It’s typically called “Create Post” or “Publishing Tools.” Click on it, and a new window will appear where you can type in your content.
Step 4: Add your content
Add any text, links, images, or videos that you want to include in your scheduled post. Make sure that everything appears as intended within the preview.
Step 5: Schedule your post
Once you’re happy with your content, look for the down arrow next to the “Publish” button. Click on this arrow and select “Schedule” from the dropdown menu that appears.
Step 6: Choose a date and time
After selecting “Schedule,” a new window will pop up. This is where you’ll set the date and time when your post should go live on Facebook. Pick a future date and time when you think your target audience is most likely to be active on the platform. The date must be at least 10 minutes in the future from your current time.
Step 7: Confirm and save
Once you’ve chosen the date and time, click “Schedule Post.” A confirmation window will appear, displaying the date and time that your post will go live. Double-check that everything appears correct and click “OK” to finalize your scheduled post.
Step 8: Manage your scheduled posts
If you need to edit or delete a scheduled post, simply go back to the dashboard of your Page, click on “Publishing Tools,” then look for “Scheduled Posts” in the left-hand menu. You can then edit or delete each scheduled post as needed.
Conclusion
Scheduling posts on Facebook can save you valuable time while ensuring consistency in content sharing. By following this easy guide, you’ll be a scheduling pro in no time, effectively managing your social media presence and engaging with your audience at strategic times. Always monitor your post’s performance to better refine future scheduling strategies for even greater success.