How to Make Bobbin Lace
Bobbin lace, a delicate and intricate art form, has been around for centuries. As a timeless craft, it requires patience, precision, and practice. If you are a beginner just starting with bobbin lace or an experienced lace maker looking for some tips, this step-by-step guide will teach you the process of creating beautiful bobbin lace.
Materials You Will Need:
– Bobbin lace pillow
– Bobbins (the number depends on your chosen pattern)
– Lace thread
– Pins
– Pricking (a pattern transferred onto cardstock or parchment paper)
– Scissors
Step 1: Prepare Your Workspace
First, set up your bobbin lace pillow on a stable surface with proper lighting. Ensure that all materials are within reach so you can focus on your work without any distractions.
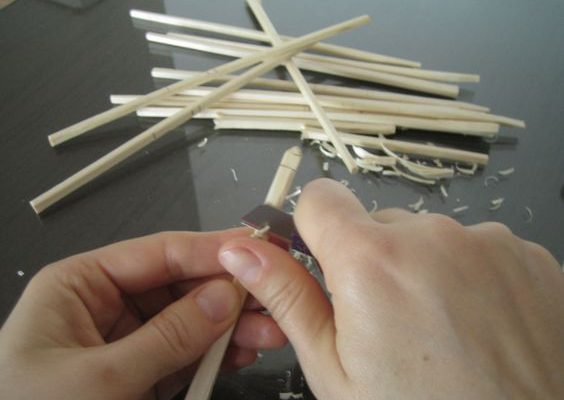
Step 2: Wind the Bobbins
Wind the bobbins with the appropriate amount of lace thread. To ensure even tension and prevent tangles, be sure to wind them in the same direction.
Step 3: Setup the Pricking
Place your pricking on the pillow. Secure it in place using pins around its edges. This will prevent the pattern from shifting as you work.
Step 4: Hang Your Bobbins
Decide where to start on your pattern. Carefully hang your bobbins over the initial set of pinholes according to the pricking. Tie a temporary knot or use slip-knots to keep the threads in place until you start working.
Step 5: Work on Your Lace Stitches
At this point, you’ll begin weaving your threads according to your pattern. The two primary stitches used in bobbin lace are cloth stitch and half stitch. Follow the instructions provided with your pattern or consult a bobbin lace guide for further assistance.
A simple way to remember these steps is by practicing the mantra “cross, twist, pin” for every stitch. This involves crossing two threads, twisting the neighboring threads, and securing the new stitch with a pin.
Step 6: Maintain Even Tension
Throughout the process, it’s crucial to maintain even tension on your threads. Consistent tension leads to a uniform finish and prevents distorting your lacework.
Step 7: Continue Working
Keep following the pricking of your pattern until you reach its end. As you progress, move pins from completed areas to new stitches to secure your work.
Step 8: Finish Your Lace
Once you have completed your pattern, carefully remove all pins, cut the lace from the pillow, and tie off any loose ends.
Step 9: Block Your Lace (Optional)
Blocking is an optional step that helps set the shape of your finished lace piece. To do this, pin the lace on a soft surface and gently mist with water. Allow it to dry completely before removing it from the surface.
Congratulations! You have successfully made bobbin lace using this step-by-step guide. As with any craft, practice makes perfect, so be patient and enjoy honing your skills in this elegant art form.